Posted on Leave a comment

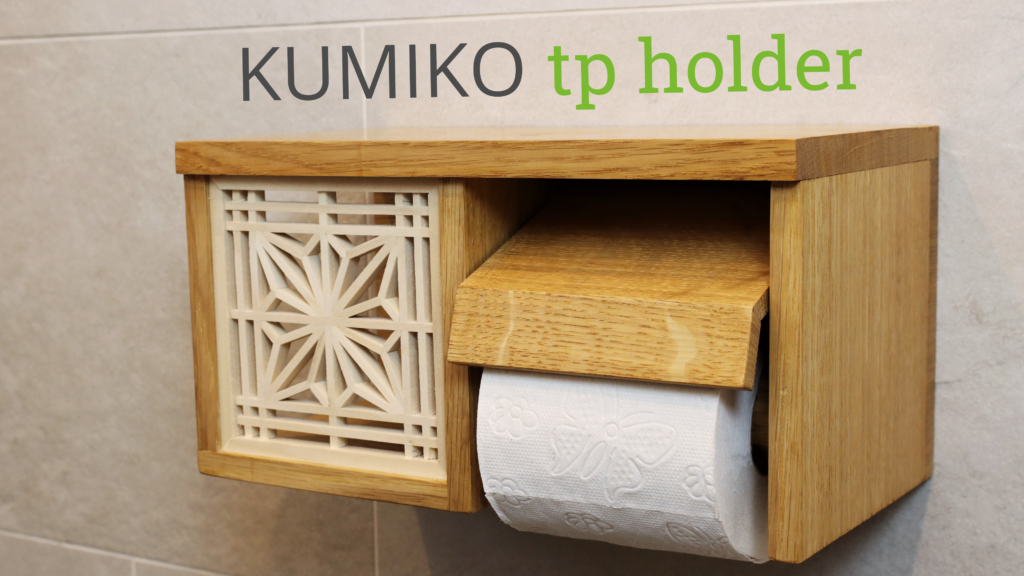
How to make a toilet paper holder out of wood with brass dowels and Kumiko

Well, in times of Corona toilet paper is the new currency and I needed a holder to keep my investments in style…

Tools

You only need these tools with the building kit:

  • Hammer
  • Handsaw
  • Chisel (preferred: 20mm or wider)
  • Sander
  • Drill
  • Tape measure or combo square
  • Clamps

Additional tools I used (but you don’t need with the kit):

  • Bandsaw
  • Sliding Table Saw
  • Jointer/Planer combo

Materials/Supply

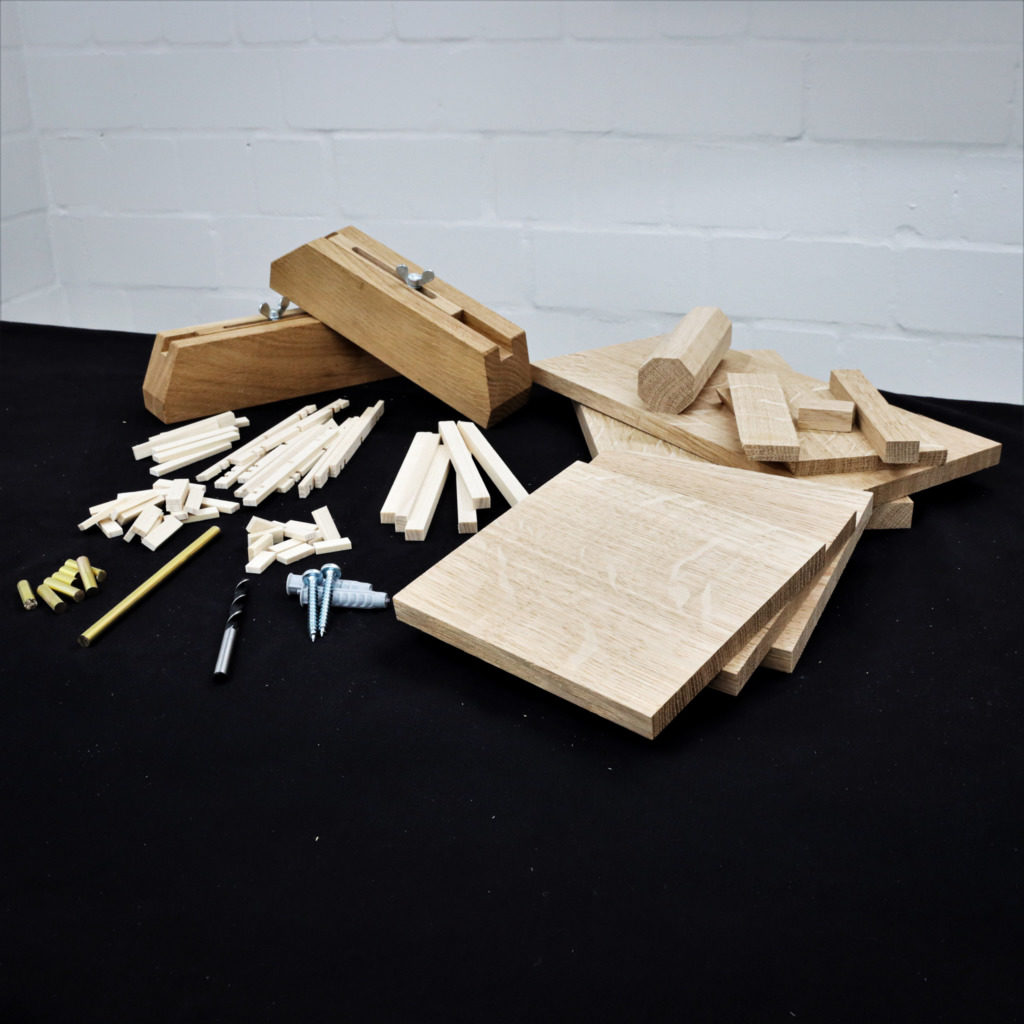
These things are already included in the building kit:

  • 35, 15, 12 and 9mm oak parts
  • 8 x 3.4mm Kumiko whitewood strips with and without notches
  • 10 x 6 mm Kumiko frame parts
  • 6mm brass dowels
  • 6mm drill bit
  • 2 pan head screws for hanging the holder to the wall
  • 2 wall plugs

Materials and supplies you will need to assemble the kit:

  • Wood glue
  • Epoxy
  • Shellac (or another finish, for example, an oil-based varnish)
  • 2 Toilet paper rolls (I know they are hard to get these days…)

1. Milling and resawing

For this project, I used live-edge oak and a whitewood board. After cutting off the live-edge and crosscutting it to a handy size I turned to the jointer and planed the first face side. I absolutely love that moment after jointing. Then I jointed the first edge and marked the jointed corner so I do not get mixed up when resawing. I resawed the material 3mm proud of my final thickness on the bandsaw and planed it down to it. Resawing worked pretty well.

Build your own Kumiko toilet paper holder with basic tools

You don’t need a big and fancy woodshop to make your own Kumiko toilet paper holder. I have a building kit in my online store, that offers all wooden parts already pre-cut as well as all the brass dowels, the Kumiko strips, and the Kumiko guide blocks. It even contains the right sized drill bit for the brass dowels. All you need is a bit of glue and sandpaper and some basic tools like a drill, a chisel, and a handsaw.

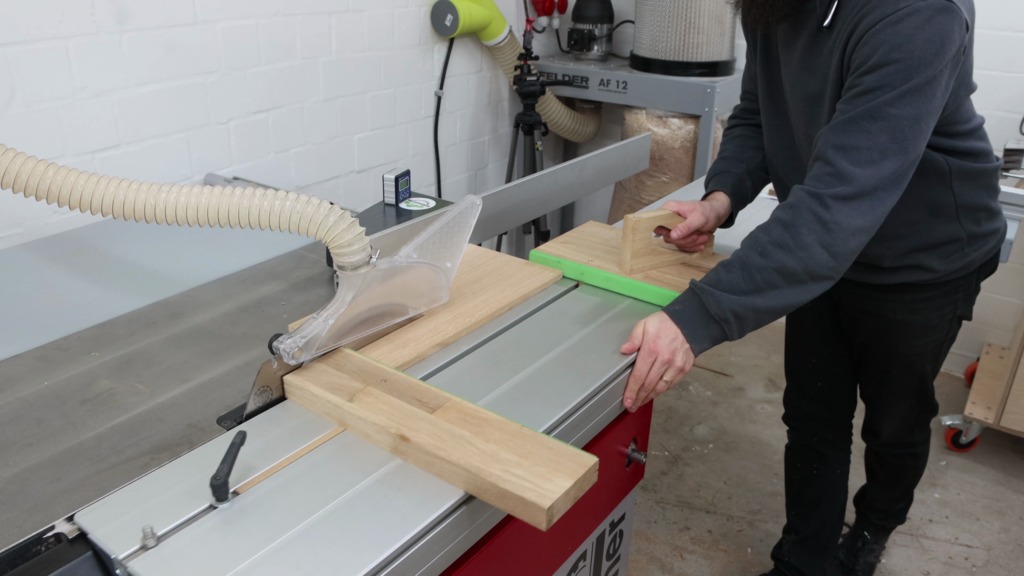
Time to cut the pieces to their final size. For rip cuts, I like using Fritz and Franz. They make it super safe and easy. Then I crosscut the pieces to length.

2. Assembling the holder’s cabinet

For the paper roll holder, a used a square stick and by cutting at 45°, I turned it to an octagon and the toilet paper fits nicely over it.
I marked center on it and drilled into it from both sides since my drill bit is to short. Somehow I made the two connect and a 6mm brass dowel fits through. More about the brass later on.

Now I marked the other hole locations for the moveable parts. The roll holder and the thing that presses on top of the paper. Is there a name for that thing?!
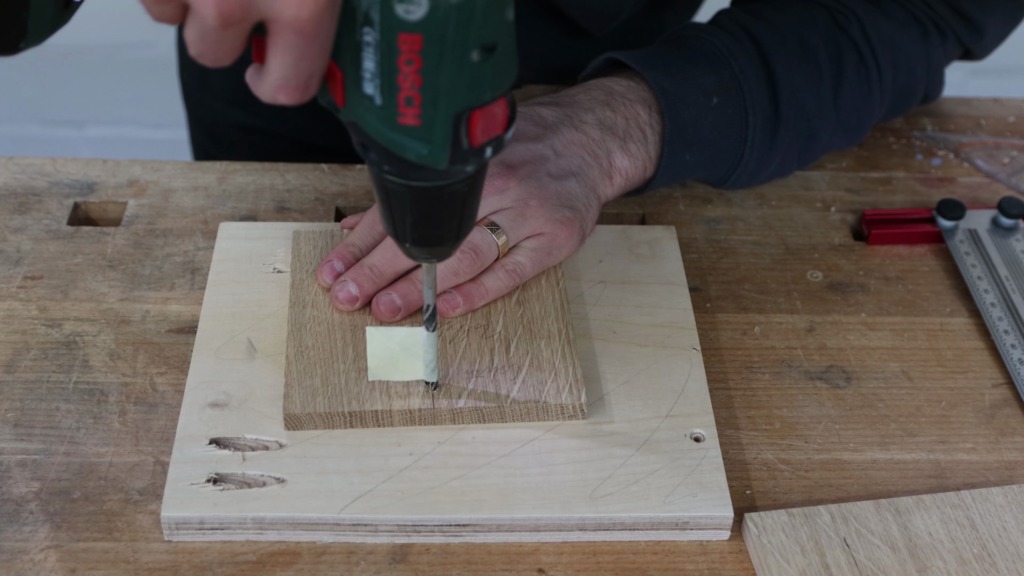
For the blind holes, I used the old tape around the bit trick to not drill through the boards.
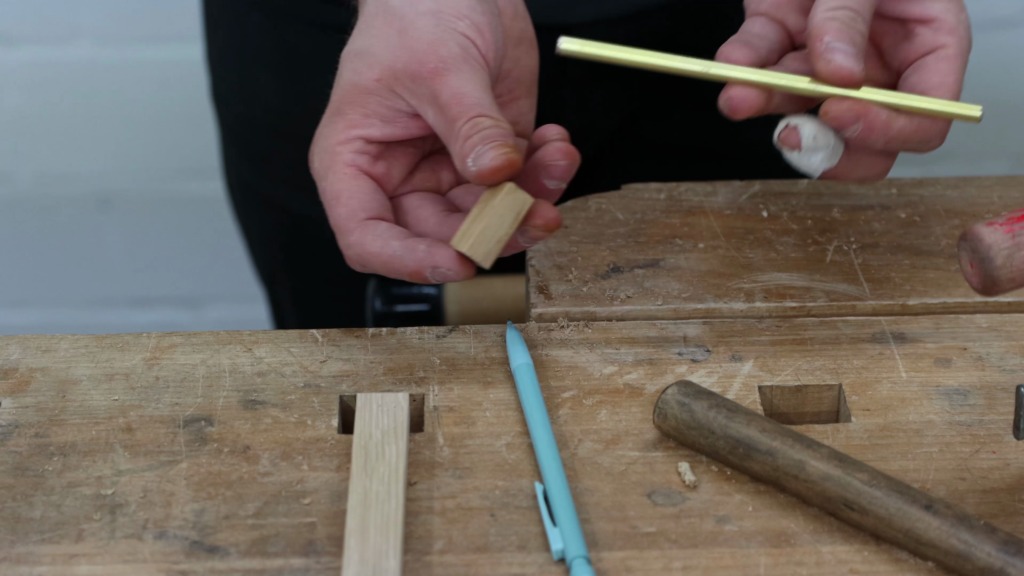
For the joinery, I used brass dowels that I made from this brass round stick. It was my first time cutting brass and I am not gonna lie although everybody says you can cut it on your woodworking tools, it just feels wrong. But it worked great.
With a drill and a bit of sandpaper, I rounded over one end of each brass dowel, so it would go in easily.

3. Sanding and pre-finishing

Then I sanded the wooden parts up to 220 grid.

After sanding I taped off all the surfaces that will be glue joints later on and finished all inside faces that would be hard to reach once glued up. As a finish I used shellac but you can also use any oil finish. It comes in flakes and I dissolved them in spirits. After letting them sit overnight the finish was ready for application. In hindsight, I would use lighter shellac flakes since the result was a little too yellowish for my taste.

The application is fairly simple with a piece of cloth. It dries almost instantly and I could apply several coats in almost no time.

4. Adding the brass dowels

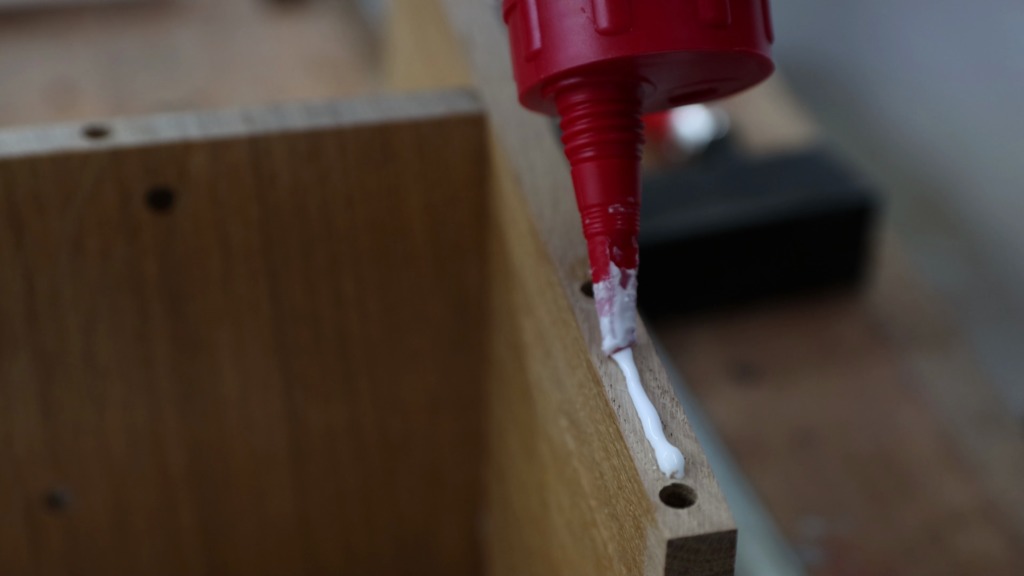
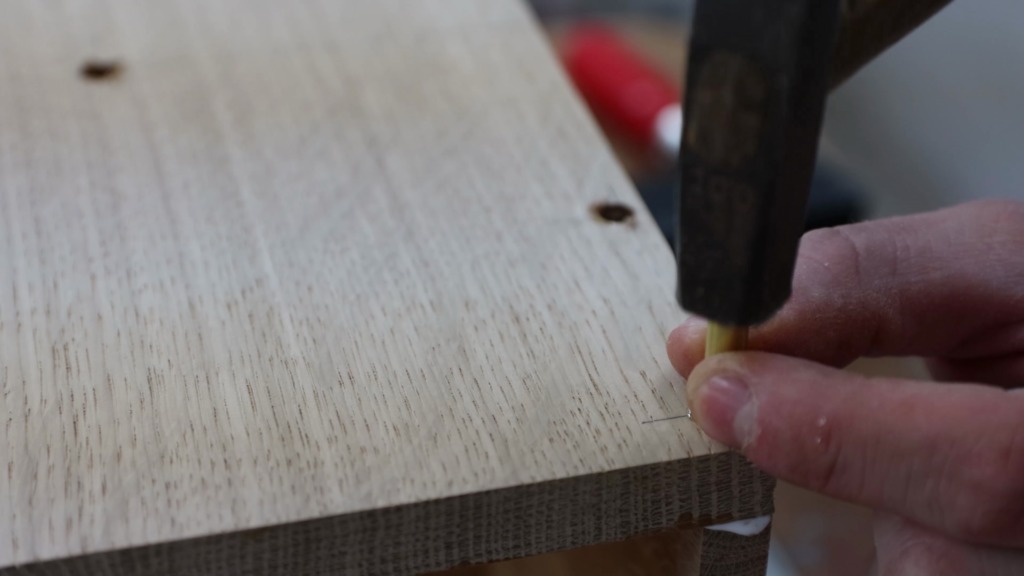
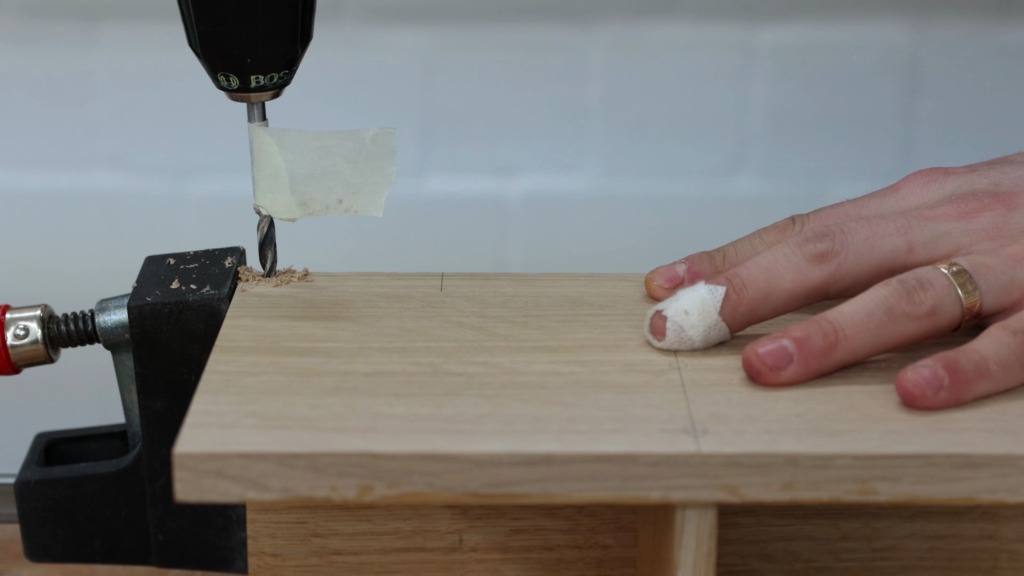
For assembly, I clamped the pieces together and with the tape as a depth stop drilled the holes for the dowels. After I added wood glue to the joint faces, I mixed up some epoxy and spread it with a toothpick in the dowel hole. When driving in the brass dowels I made sure they still stick out a tiny hair so they will become flush later.
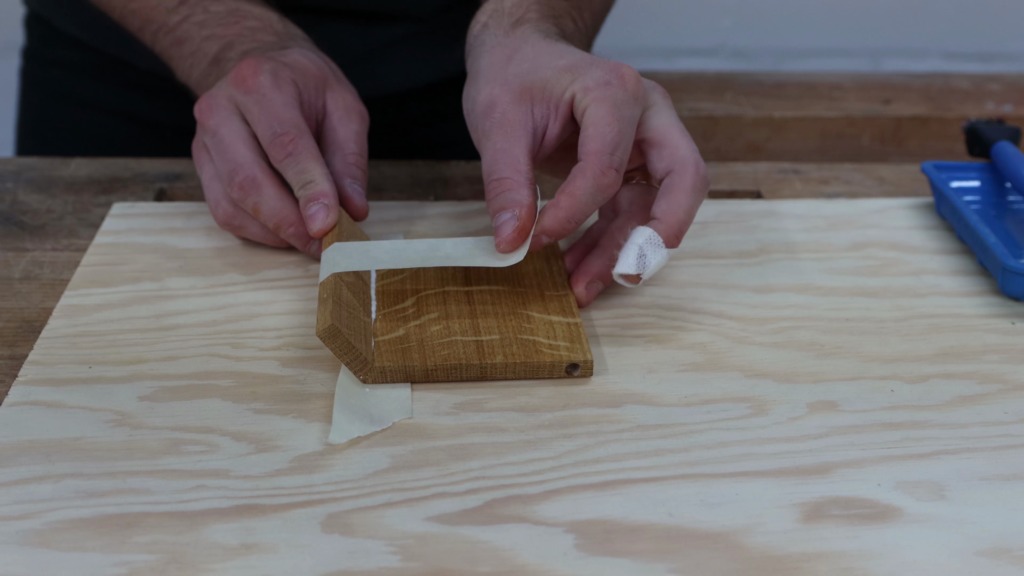
While letting the glue dry I drilled the holes into the thing with no name that presses on the paper. I gave it a wash coat of shellac and glued up the miter. A bit of tape is better than any clamp for this.


I also epoxied the brass dowel for the roll holder into the small handle.
Then the nameless thing got two short brass dowels that act as a hinge.

Then the nameless thing got two short brass dowels that act as the hinge.

Before I glued in the outside I put that thing into place and it worked very well.

5. Sanding and finishing

Then I sanded the brass dowels flush with the surface. I went up to 500 grid in order to have a minimal scratch pattern on the brass.
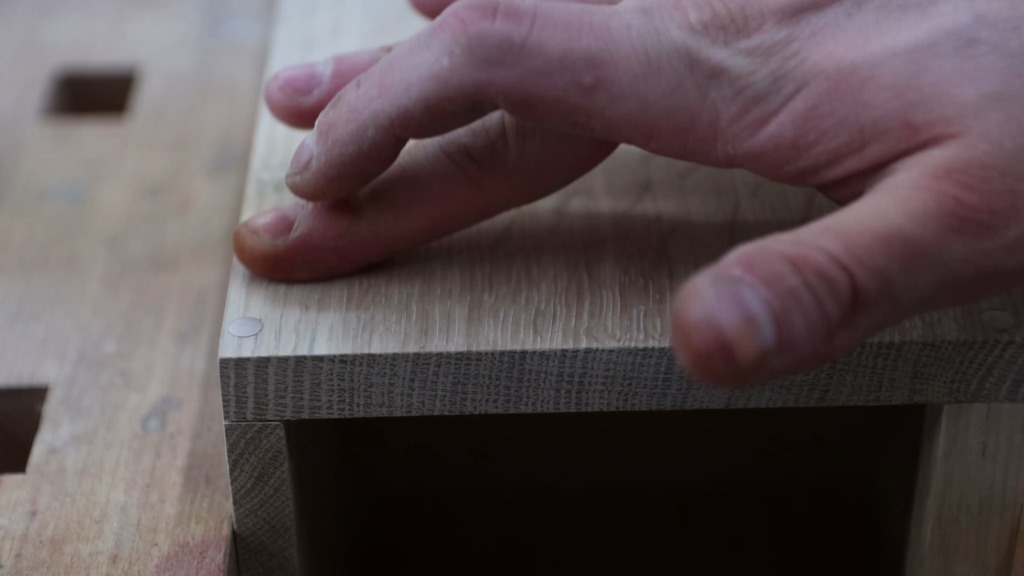
Afterwards, I finished the outside surfaces with a couple of coats.

6. Making and inserting the Kumiko panel (Asanoha)

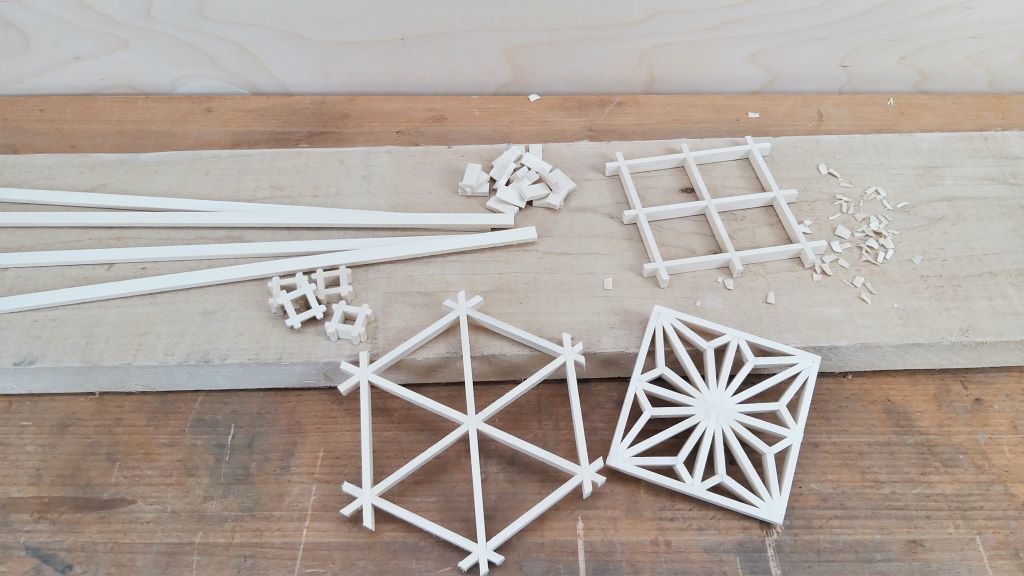
Now it was time for the Kumiko panel. For the frame, I used whitewood strips that are a little thicker than the Kumiko. With my Kumiko guide block, I trimmed off the ends at 45° degrees. This was so enjoyable. With a little trial and error, they fitted perfectly.

Making the Kumiko panel itself was the most fun part for me. Again I used the guide blocks to cut the infill pieces to shape. If you want to learn more about how to make Kumiko check out the videos I link at the top as well as the articles on my website.
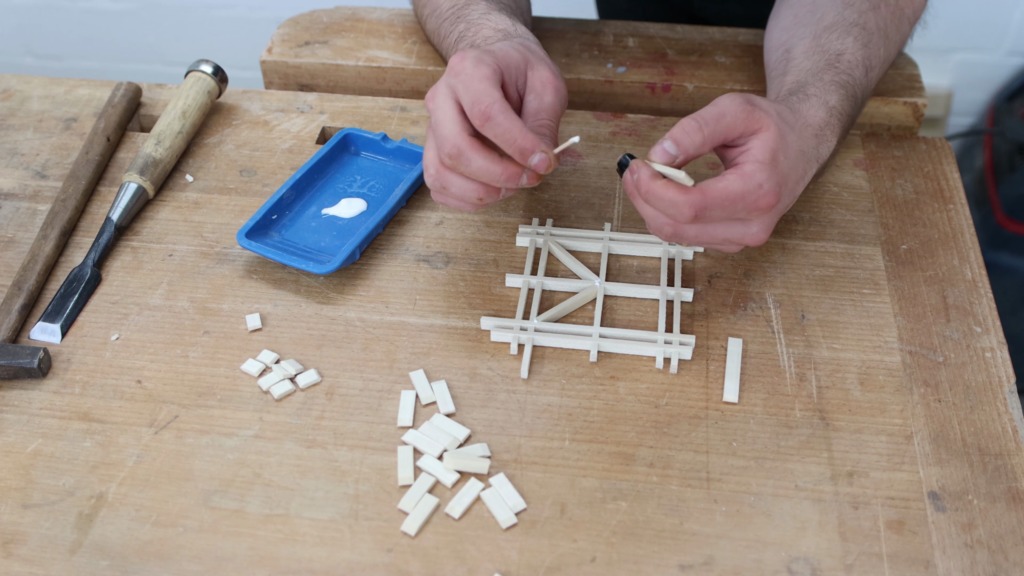
Gluing the Kumiko pieces in place went smooth and afterwards I marked the panel in order to fit into the frame. I lined up a ruler to my marks and cut it with a pull saw.
Inserting the panel was very rewarding.

7. Hanging the holder to the wall

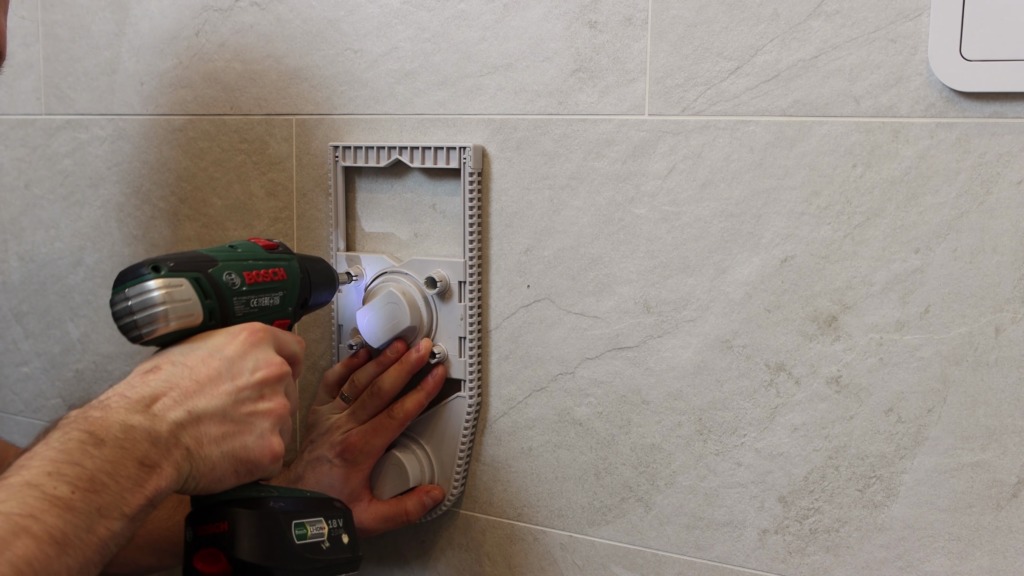
With a pencil, I marked the locations for the screws on the tiles in our bathroom. In order to drill through the tiles, I used a diamond drill bit and a drill template to start the hole. But since the suction cups of the template had problems to hold on the structured tiles, I continued without it. With a sponge and water, I cooled the bit and tiles. I felt lucky to not hit a water pipe.
I inserted some wall plugs and screwed the toilet paper holder in place.

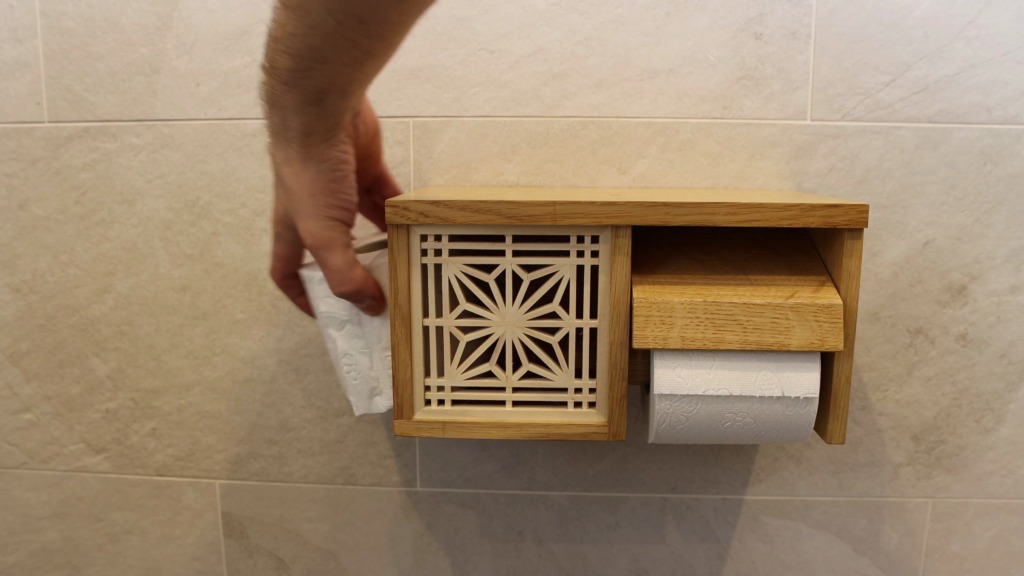
Just adding some toilet paper, inserting the Kumiko panel again and it is done! Almost don’t forget to include the back-up roll behind the Kumiko.
Build your own with the building kit

If you want to build the toilet paper holder yourself, I have an awesome building kit available. It contains all the wooden parts for the holder already pre-cut, the brass dowels and the strips as well as the guide blocks for the Kumiko panel. Without a big and fancy woodworking shop and just a very basic toolset you can build this project yourself.

Posted on Leave a comment

Kumiko Jigs – Guide Blocks to make perfect wood latticework

In order to be able to make Kumiko, you will need a few jigs. The amount and types of jigs highly depend on the pattern you want to make and the needed angles on the infill pieces as well as the type of grid you will make. In this article, I am gonna demonstrate the jigs for the Asanoha-pattern in a square grid, since it is one of the most common patterns and is a good starting point for beginners. I did start with it, too.

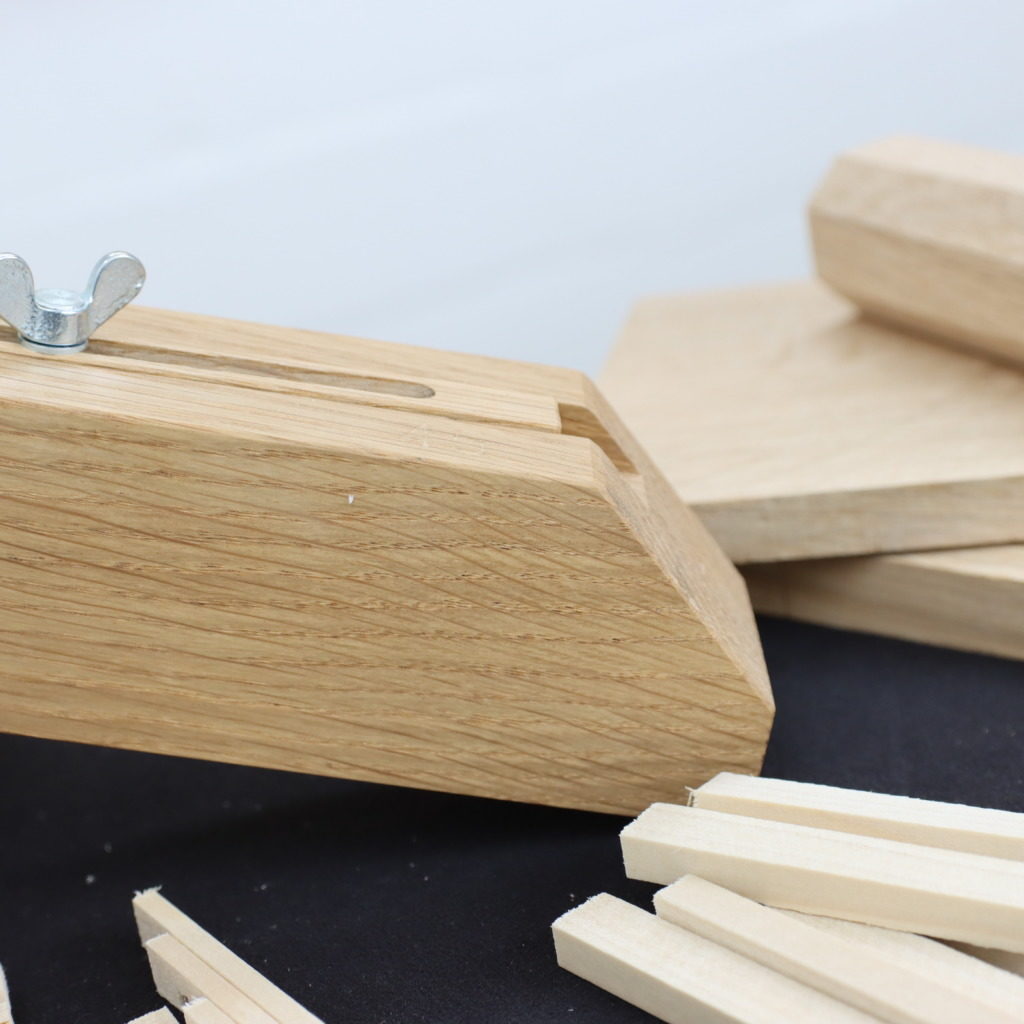
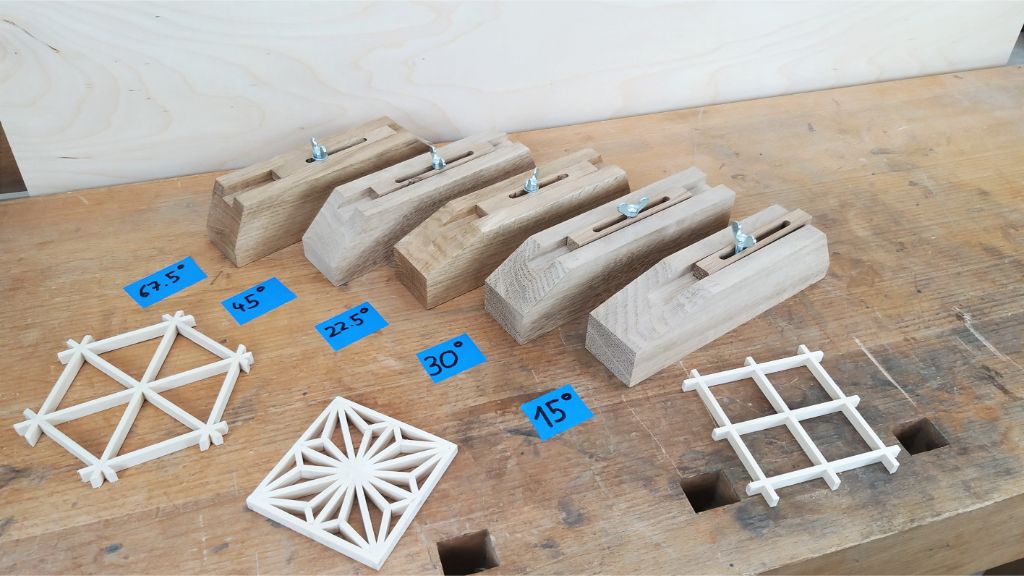
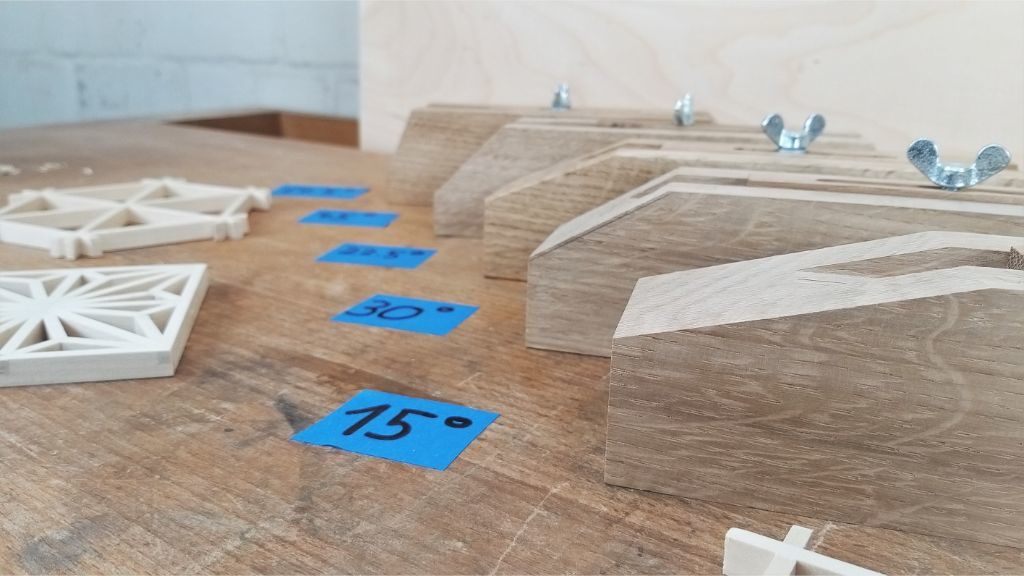
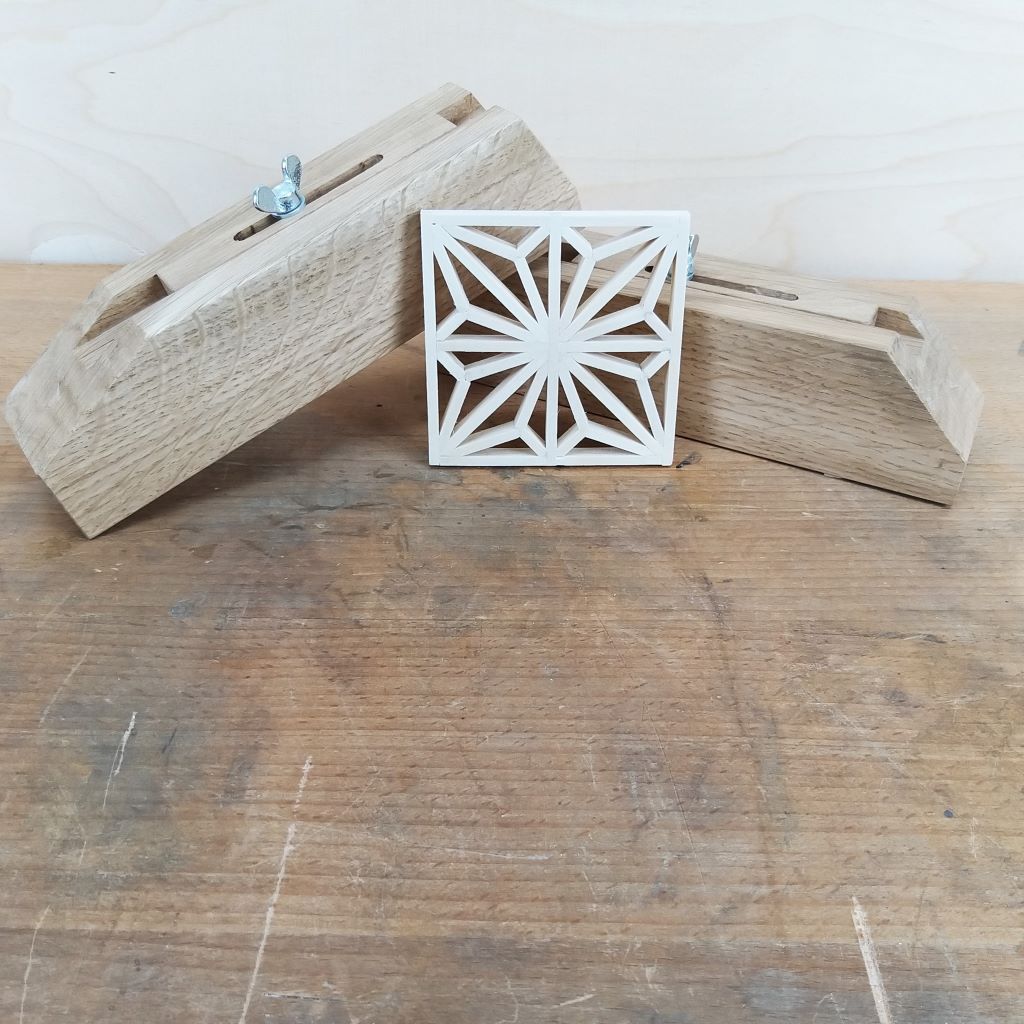
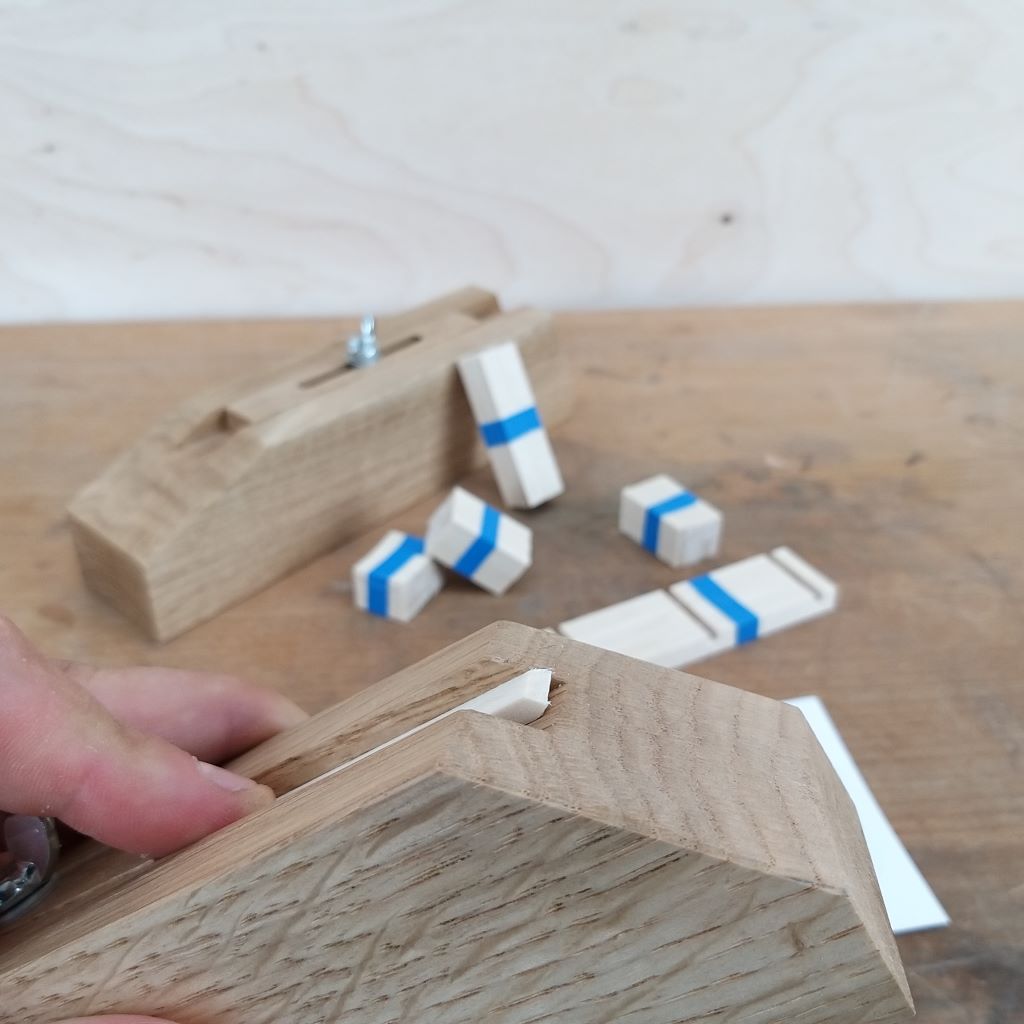
Kumiko guide blocks with a variety of angles at the end.

The Asanoha consists of a long diagonal infill piece (b), two smaller infill pieces ( c) and a small piece (d), that locks everything in place.

In order to fit perfectly together with the following angles on the pieces have to be cut:

a: 90-degree notch

b: 45-degree bevel on each side 

c: 22.5-degree and 67.5-degree

d: 45-degree on each side

The grid can be cut in a few different ways. There are two common ways. With a Japanese pull saw and a narrow chisel or on the table saw with a jig that is similar to a box joint jig.

I like the table saw way. It is fast, accurate and repeatable. There is a downside. The thickness of your strips must match the thickness of your table saw blade. In the picture below you see my jig. The little pin sticking out of the fence is the same thickness as the grid.

Note: The triangular pattern (Mitsukude) is cut on a different jig, but with the same principle.

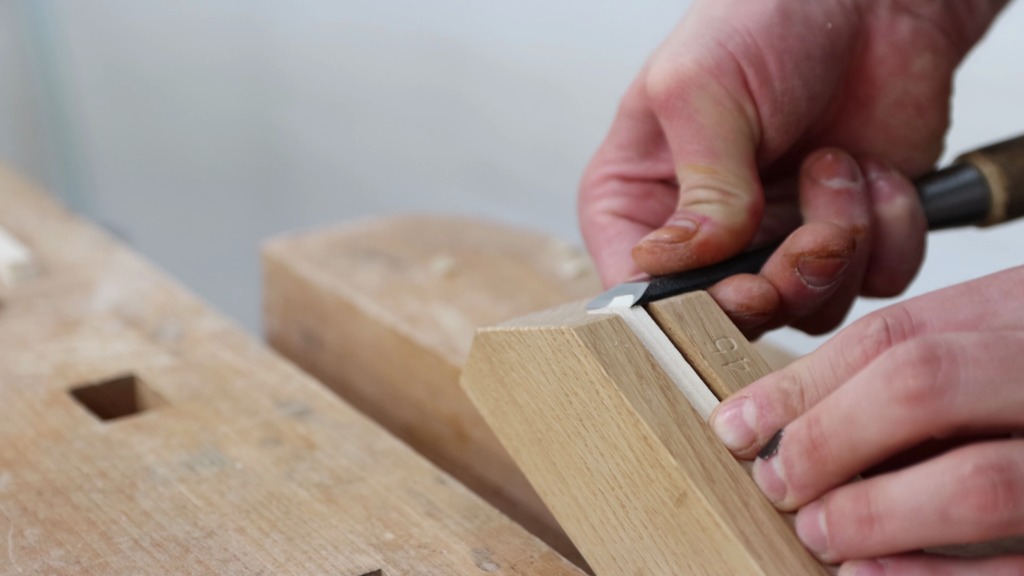
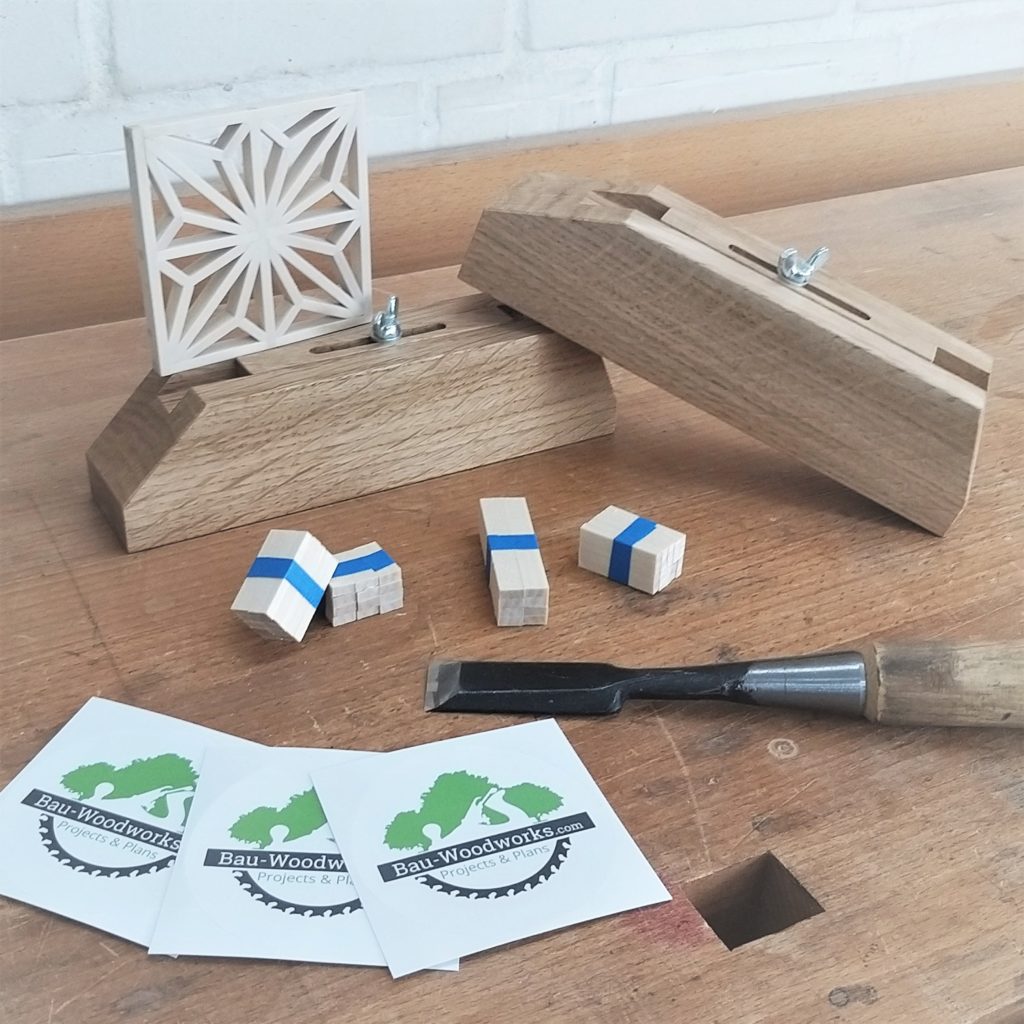
My preferred method of cutting the small bevels on the infill pieces is with a shop-made jig and a sharp Japanese chisel (I sharpened it 25 degree – Any angle would work but I found that 25 works best in terms of sharpness since durability is not really an issue when pairing only tiny pieces).

The jigs are essentially just a miter box with an adjustable stop, where the infill pieces stick out on one side and the excess gets cut by the chisel.

The jigs are made out of hardwood (I like oak for that). They are about 50mm (2”) by 45mm (1 ¾”) with an 8mm deep and 12 mm (½”) wide groove in the middle. The angles at the end match the angles needed for your pattern. 

The stop is held at its place with a wing screw going in a threaded insert.

For the Asanoha I like to make only two blocks with an angle on each side. Therefore it is important which angle is on the same block with another. You want to have one jig with 45-degree plus 67.5-degree and the second with 22.5-degree plus 67.5-degree on the other end. This makes cutting the smaller infill pieces ( c)  much easier since you are able to set both blocks with the 67.5-degree angle to different lengths. You can find more about how to cut the Asanoha pattern in my video below.

Kumiko jigs are an easy way to start your Kumiko journey.

If you decide to build your own jigs make sure the angles are dead on and the stop is adjustable to the lengths you will need, depending on the grid size.

Here’s is how I build the jigs

I start by milling an oak board to 45mm (1 ¾”) thickness and then ripping strips slightly over 50mm (2”) off it. The next step is to send them through the planer one more time in order to get perfect 45mm (1 ¾”) by 50mm (2”) strips. For cutting the groove I use a flat-top table saw blade and make several cuts until the groove is about 12mm (½”) wide.  A trick I like to use is rotating the strips 180 degrees between passes. Therefore you can make 2 cuts with each crosscut fence positions and it saves time setting up the fence. 

After the groove is cut, I mill some more strips to fit the groove. They should have a nice friction fit. The height is not so critical. I let them sit a bit proud of the groove because that makes it easier to adjust them when cutting the pattern. They receive a 5mm (3/16”) slot in the center, where the wing bolt goes through.

The main body of the jigs gets a hole in the center. The depth, therefore, depends on the threaded inserts you use as well as the length of your screws. After installing the insert, I wipe on a single coat of oil to protect them. 

Tataaaah finished are your Kumiko jigs and ready to build some awesome stuff.
Get your own jigs now

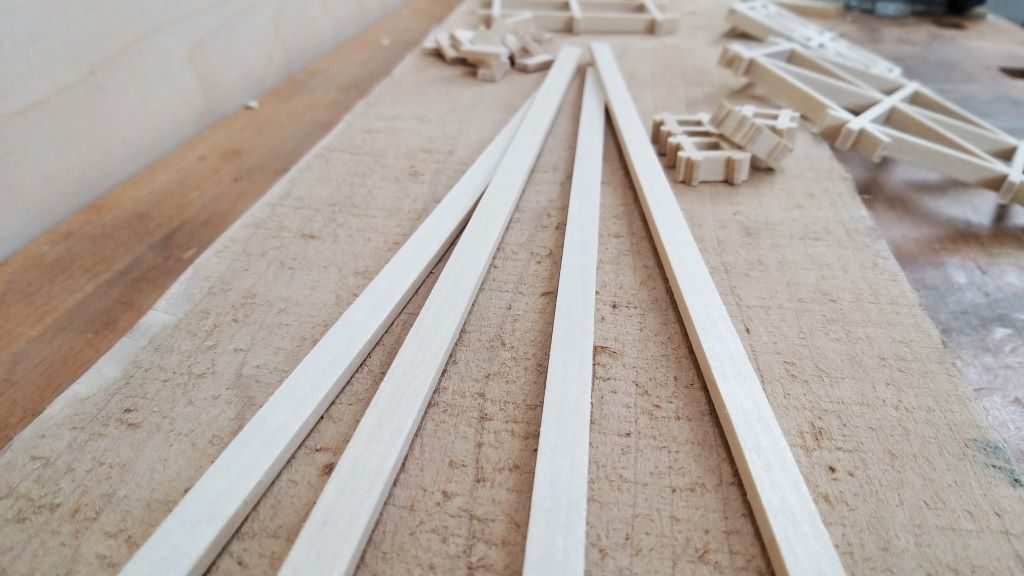
In my shop, I have finished jigs and Kumiko kits for sale. Give yourself a headstart and order one right away.
Posted on Leave a comment

Right wood for Kumiko – The best species for latticework

Choosing the right species for your wood latticework makes it much easier and enjoyable.

When I made my first Kumiko pattern I didn’t ask myself this question and started with oak. Why this was a bad idea, I am gonna explain in a minute.

Traditionally Japanese Kumiko work is made out of Japanese cedar or Japanese cypress, but not everybody lives in Japan and has access to that. Nor has it the right color for every project. 

Here I am gonna write a little bit about the best wood for making Kumiko. Although there is no definite answer to that question. As usual, it depends…

In general, you want to use boards with straight, tight grain and with as little color differences as possible. Since the Kumiko pattern itself is visually very striking, the quiet grain gives a more uniform and calm look. If you have different color tones in your infill pieces, you will see the beveled corners pretty clearly and the Kumiko will look like a bunch of strips thrown together instead of a clean pattern.

Another concern is the hardness of the wood. Softer wood will compress a little when you put the pieces together. A harder wood like oak will not compress as much and makes it harder to get a clean pattern. And that is exactly what happened to me. Choosing oak for my first pattern ever made it so much more difficult.

When you choose the wood you also want to take a species that takes an edge well and does not splinter as much.

That’s how you want it to look like. Clean edge without splinter.

Considering the facts here are some wood species to start with. 

The most known wood for Kumiko right now is basswood. It scores well on all the three factors above, is a great wood for hand carving and is relatively cheap compared to other hardwoods.

Another good choice can be white pine which is similar to basswood.

My favorite species for Kumiko is whitewood (yellow popular). My lumberyard was short of basswood and I told them what I wanted to use it for. They suggested whitewood and I gave it a try. I did not regret that move. It was so great to work with and the Kumiko turned out so good. Also, the availability and selection of whitewood at my lumberyard is pretty good. That makes it perfect for me.

Whitewood (Yellow Poplar) is my favorite wood for Kumiko.

Especially if you want to use contrasting species in a Kumiko panel or match the color of other components in your workpiece you may need to turn your attention to some other species. Cherry, oak, walnut and mahogany are also great for Kumiko. But since they are considerably harder, they are less forgiving, way harder to pair and it is more difficult to achieve a nice Kumiko pattern without gaps. 

Summary

You need a wood species that pairs well and boards with little defects, minimal color differences and straight grain. 

Basswood, white pine and whitewood are great woods for beginners in Kumiko. Cherry, oak, walnut and mahogany can be necessary because of color but are more challenging to work with.

Get your Kumiko Starter Kit now

In my shop, you find Kumiko kits for sale. Give yourself a headstart and order one right away.

Posted on Leave a comment

Kumiko Patterns – The different designs of the japanese wood latticework

Three different wood latticework patterns (Kumiko)

There are hundreds, maybe thousands of different kumiko patterns that are used not only by japanese woodworkers.

In this article, I want to show and talk about a bunch of them.

Note: I am gonna add pictures of every pattern as I build them and also more patterns in the future.

The base of the patterns is the grid (kaku). The grid can be made up of squares(), triangles (Misukude) or diamonds().

The Mitsukude and diamond grid are a little bit more challenging to make. The square grid is great for beginners.

Square patterns

How to make the square pattern

Asa-no-ha (more precisely kakuasa-no-ha)

Asanoha Kumiko Pattern in a square grid
Here I explain step-by-step how to make the Asanoha.

Asa-no-ha means hemp leaf in Japanese and shall mimic its shape. Kakuasa-no-ha just means square hemp leaf. In Japan the pattern is often used on the fabric of baby clothing and stands for strength as well as beauty. It is one of the most used patterns, although it is not that easy to make. 3 different infill pieces have to fit perfectly and a total of 7 infill pieces is needed per square. Angles are 45-degree, 22.5-degree and 67.5-degree.

Izutsu-Tsugi pattern

This pattern looks fairly simple. It’s a small square held by 4 diagonals at the corners. In order to make this pattern a 45-degree jig enough. It is pretty quick to make, too.

Triangular patterns around the Mitsukude

Asa-no-ha 

Asanoha Kumiko pattern in a triangular grid

The asa-no-ha in a triangular grid is fairly easy to make and one of the easiest patterns in terms of infill pieces. You only need one setting on the 30-degree jig and another on the 60-degree jig. One triangle gets filled with 3 pieces. Once the grid is done, this Kumiko pattern fairly quickly knocked out. In the Japanese believe that the aggregation of triangles protects against the evil.

Kuruma kikko

Kuruma means car in japanese or in this case wheel. Kikko just means that it is hexagonal.  

The pattern consists of the same piece over and over. It has 60-degree bevels on the end and two 60 degree half-lap joints on opposite sides. 

Sakura

The cherry blossom (sakura) is one of the most important symbols in the japanese culture and known as the national flower of Japan. So no surprise that there is a Kumiko pattern for sakura.

Sakura symbolizes beauty as well as mortality and is believed to predict that year’s harvest. It also kicks off the rice planting season.

The pattern consists only of 2 different pieces but needs 6 pieces per triangle. The bevels on the thicker pieces are 60 degrees and on the thinner pieces as well, but there are two on each end. 

The thinner piece can be joint either with a normal groove in the thicker piece or with a bird’s mouth joint.   

Goma gara

The goma (sesame) gara (pattern) represents the sesame flower. Sesame is pretty big in the japanese kitchen and Japan is one of the biggest sesame producers.

The pattern consists of the same piece (60-degree bevels on the end and two 60 degree half-lap joints) as the kuruma kikko but with different spacing for the lap joints. 

Goma-Gara in oak and whitewood

Kasane-Rindo (Gentian sequence)

Rindo is the gentian and this pattern derives from a sequence of gentian blossoms.

Gentian stands for sincerity, justice and tolerance. The roots of the flowers are used for medicine.

The rindo pattern is also made of the same piece over and over. It has a 90 degree half lap joint, a 15 degrees bevel on one end and 75 degrees on the other (the one closer to the half-lap).


Get your Kumiko Starter kit now

In my shop, you find Kumiko Starter kits for sale. Give yourself a headstart and order one right away.