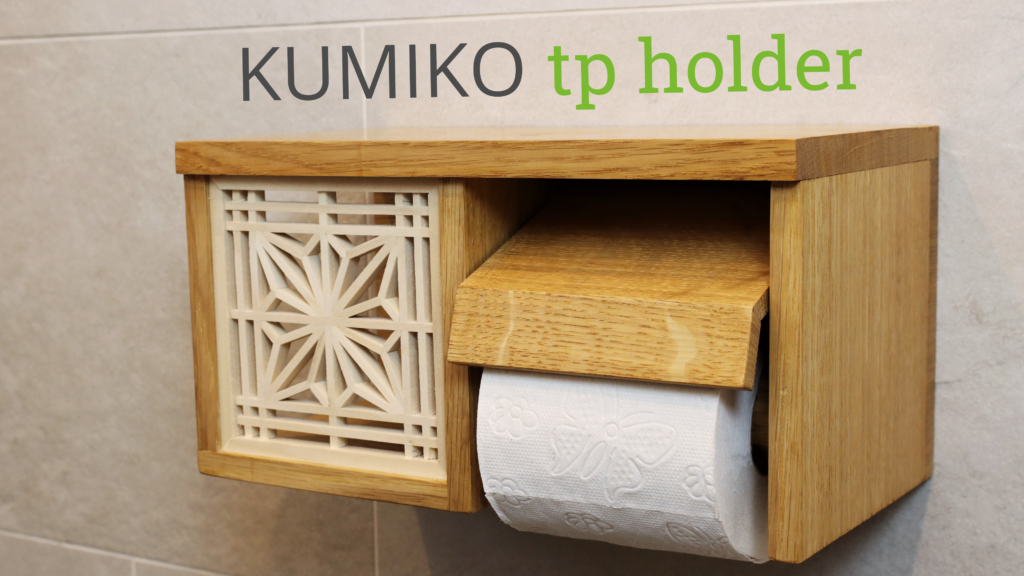
Well, in times of Corona toilet paper is the new currency and I needed a holder to keep my investments in style…

Tools
You only need these tools with the building kit:
- Hammer
- Handsaw
- Chisel (preferred: 20mm or wider)
- Sander
- Drill
- Tape measure or combo square
- Clamps
Additional tools I used (but you don’t need with the kit):
- Bandsaw
- Sliding Table Saw
- Jointer/Planer combo
Materials/Supply
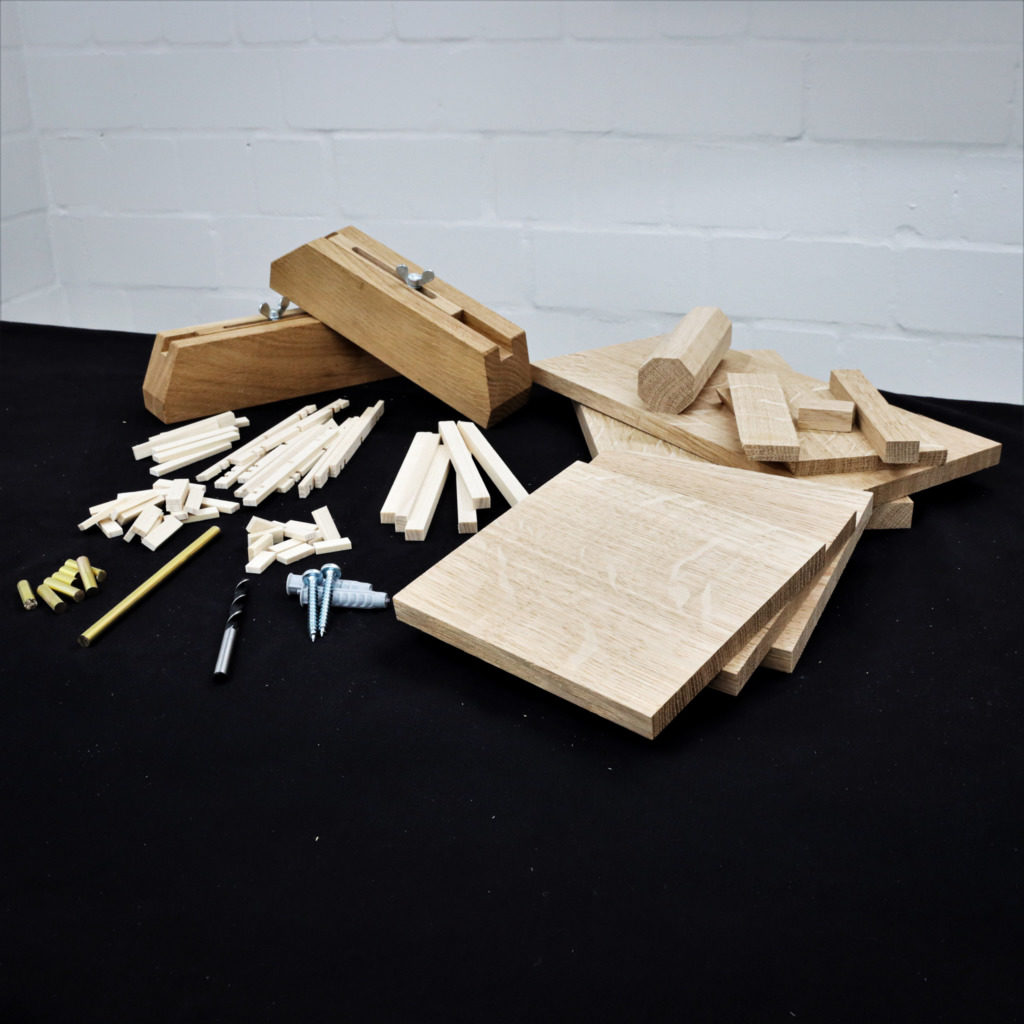
These things are already included in the building kit:
- 35, 15, 12 and 9mm oak parts
- 8 x 3.4mm Kumiko whitewood strips with and without notches
- 10 x 6 mm Kumiko frame parts
- 6mm brass dowels
- 6mm drill bit
- 2 pan head screws for hanging the holder to the wall
- 2 wall plugs
Materials and supplies you will need to assemble the kit:
- Wood glue
- Epoxy
- Shellac (or another finish, for example, an oil-based varnish)
- 2 Toilet paper rolls (I know they are hard to get these days…)
1. Milling and resawing
For this project, I used live-edge oak and a whitewood board. After cutting off the live-edge and crosscutting it to a handy size I turned to the jointer and planed the first face side. I absolutely love that moment after jointing. Then I jointed the first edge and marked the jointed corner so I do not get mixed up when resawing. I resawed the material 3mm proud of my final thickness on the bandsaw and planed it down to it. Resawing worked pretty well.
Build your own Kumiko toilet paper holder with basic tools
You don’t need a big and fancy woodshop to make your own Kumiko toilet paper holder. I have a building kit in my online store, that offers all wooden parts already pre-cut as well as all the brass dowels, the Kumiko strips, and the Kumiko guide blocks. It even contains the right sized drill bit for the brass dowels. All you need is a bit of glue and sandpaper and some basic tools like a drill, a chisel, and a handsaw.
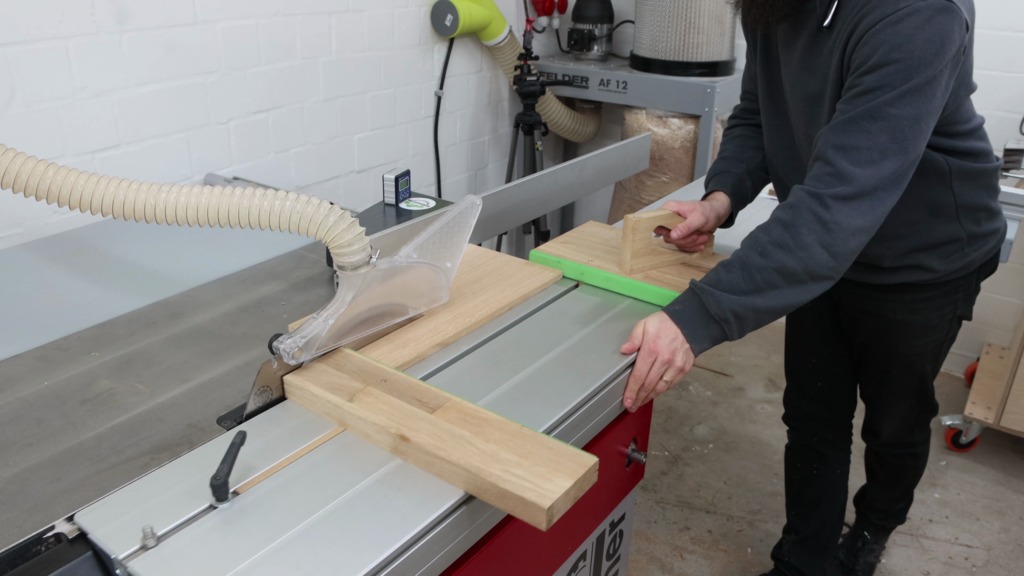

Time to cut the pieces to their final size. For rip cuts, I like using Fritz and Franz. They make it super safe and easy. Then I crosscut the pieces to length.
2. Assembling the holder’s cabinet
For the paper roll holder, a used a square stick and by cutting at 45°, I turned it to an octagon and the toilet paper fits nicely over it.
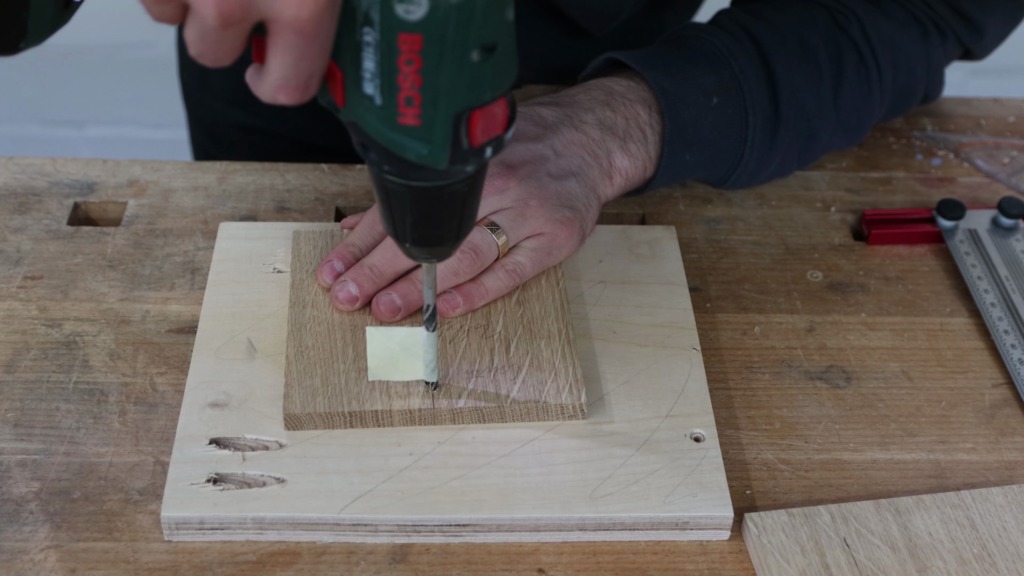
I marked center on it and drilled into it from both sides since my drill bit is to short. Somehow I made the two connect and a 6mm brass dowel fits through. More about the brass later on.

Now I marked the other hole locations for the moveable parts. The roll holder and the thing that presses on top of the paper. Is there a name for that thing?!
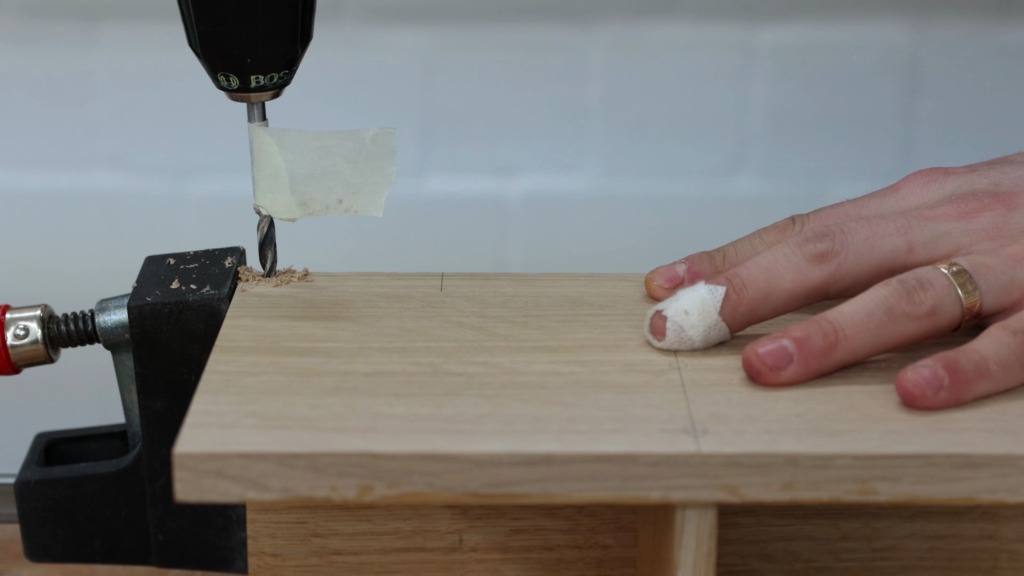
For the blind holes, I used the old tape around the bit trick to not drill through the boards.
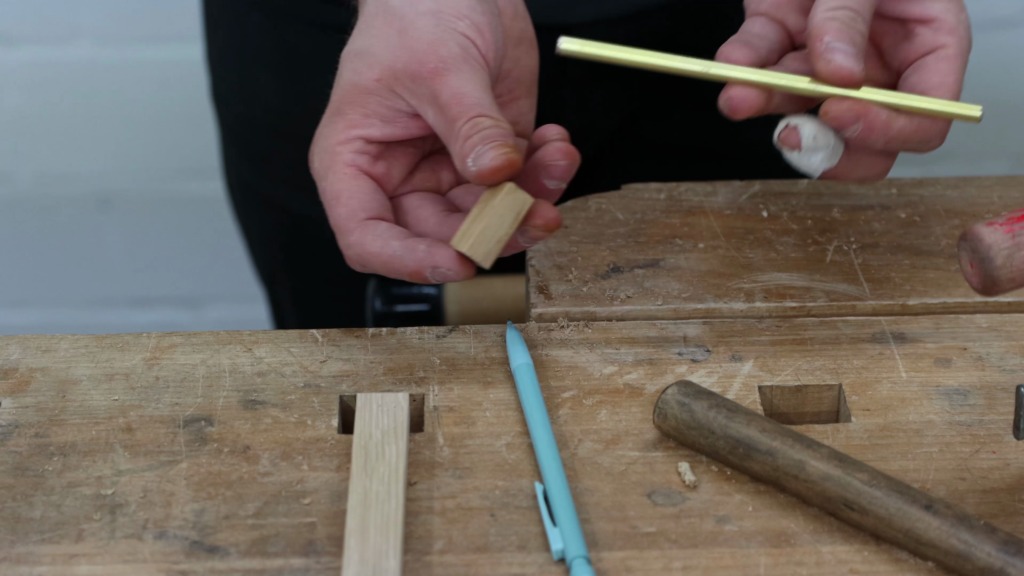
For the joinery, I used brass dowels that I made from this brass round stick. It was my first time cutting brass and I am not gonna lie although everybody says you can cut it on your woodworking tools, it just feels wrong. But it worked great.
With a drill and a bit of sandpaper, I rounded over one end of each brass dowel, so it would go in easily.


3. Sanding and pre-finishing
Then I sanded the wooden parts up to 220 grid.
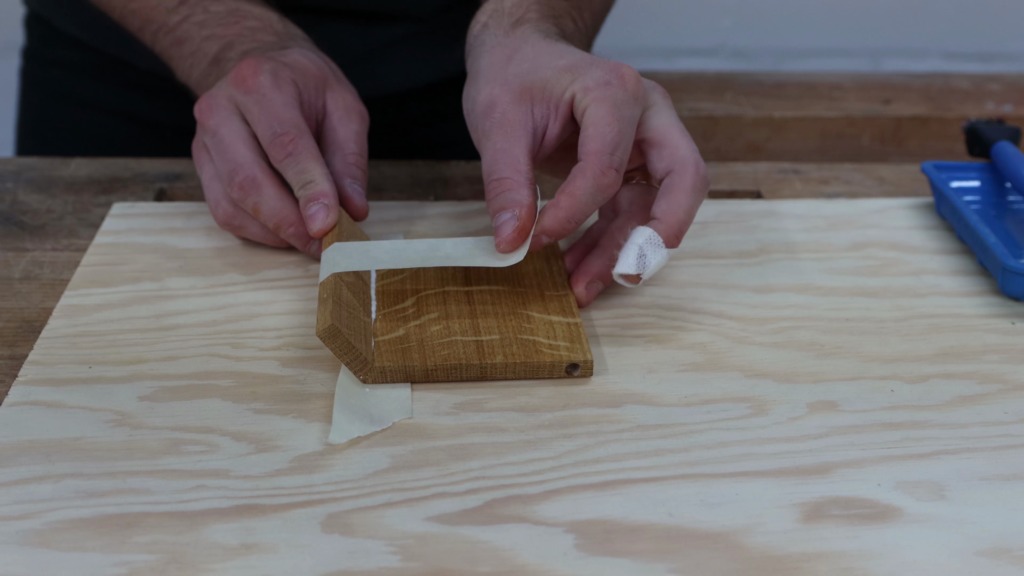
After sanding I taped off all the surfaces that will be glue joints later on and finished all inside faces that would be hard to reach once glued up. As a finish I used shellac but you can also use any oil finish. It comes in flakes and I dissolved them in spirits. After letting them sit overnight the finish was ready for application. In hindsight, I would use lighter shellac flakes since the result was a little too yellowish for my taste.


The application is fairly simple with a piece of cloth. It dries almost instantly and I could apply several coats in almost no time.
4. Adding the brass dowels
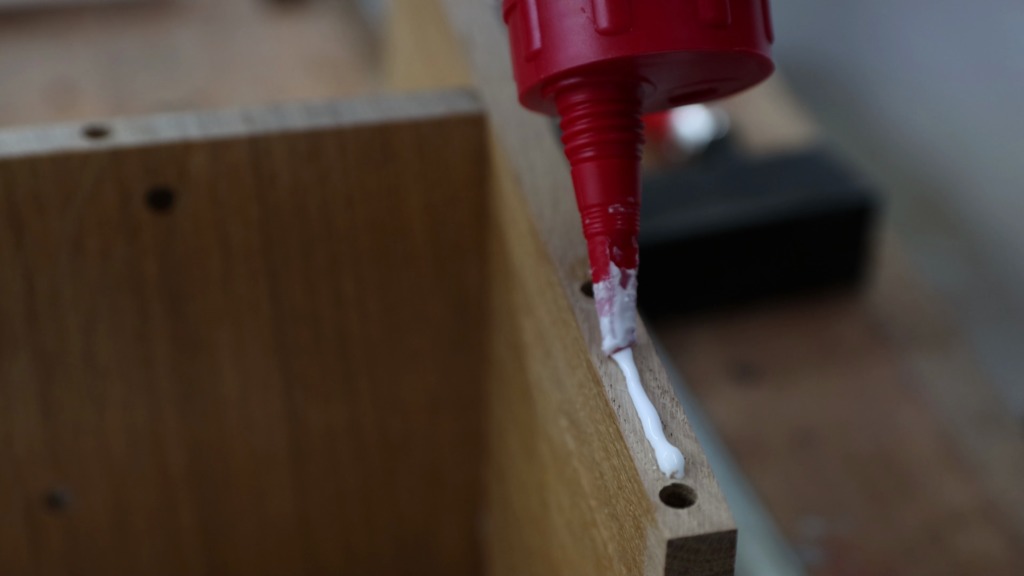
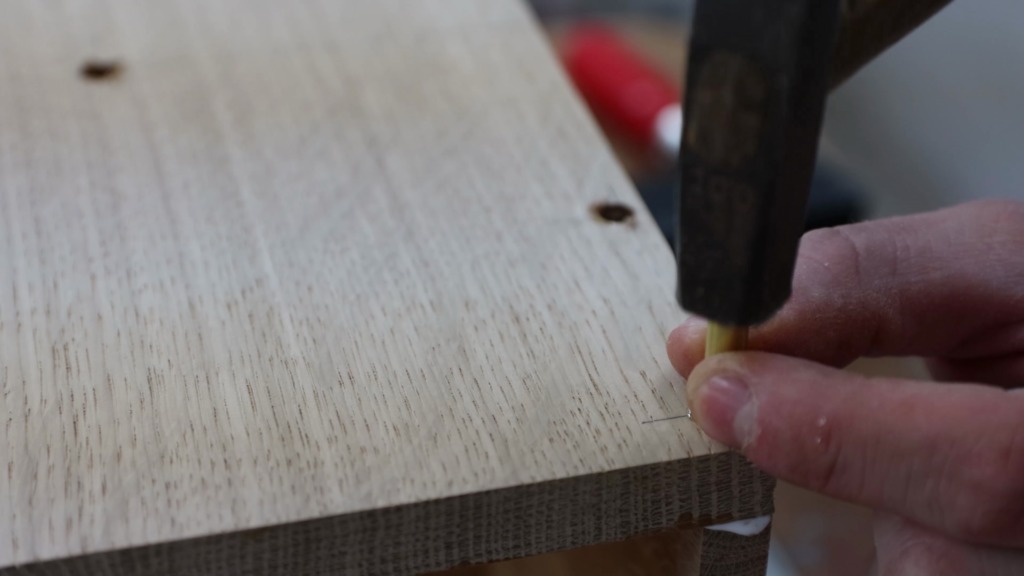
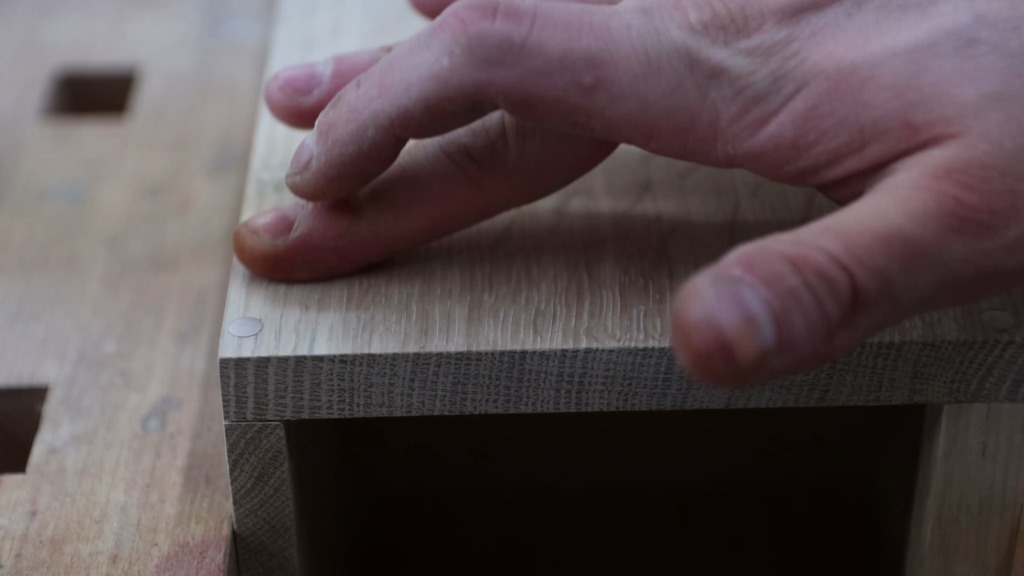
For assembly, I clamped the pieces together and with the tape as a depth stop drilled the holes for the dowels. After I added wood glue to the joint faces, I mixed up some epoxy and spread it with a toothpick in the dowel hole. When driving in the brass dowels I made sure they still stick out a tiny hair so they will become flush later.

While letting the glue dry I drilled the holes into the thing with no name that presses on the paper. I gave it a wash coat of shellac and glued up the miter. A bit of tape is better than any clamp for this.
I also epoxied the brass dowel for the roll holder into the small handle.
Then the nameless thing got two short brass dowels that act as a hinge.


Then the nameless thing got two short brass dowels that act as the hinge.
Before I glued in the outside I put that thing into place and it worked very well.
5. Sanding and finishing
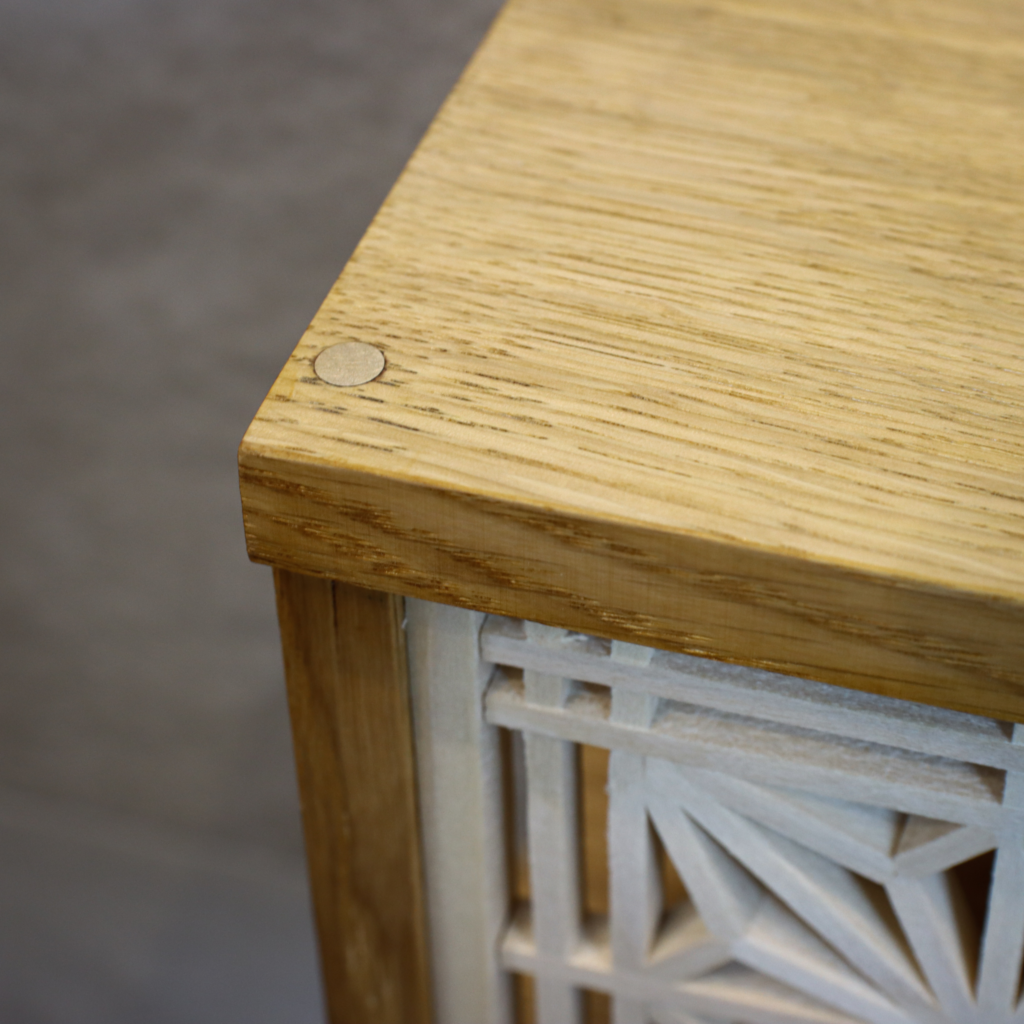
Then I sanded the brass dowels flush with the surface. I went up to 500 grid in order to have a minimal scratch pattern on the brass.
Afterwards, I finished the outside surfaces with a couple of coats.
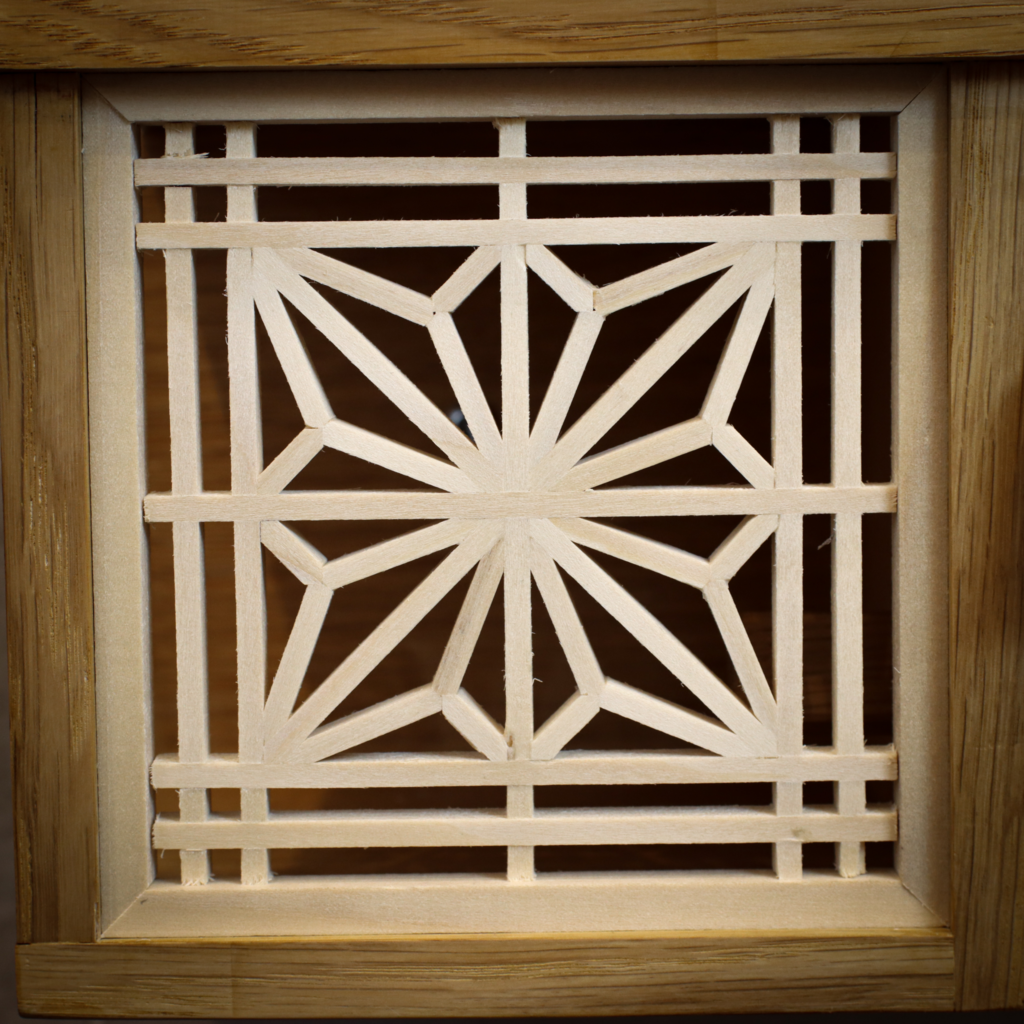
6. Making and inserting the Kumiko panel (Asanoha)
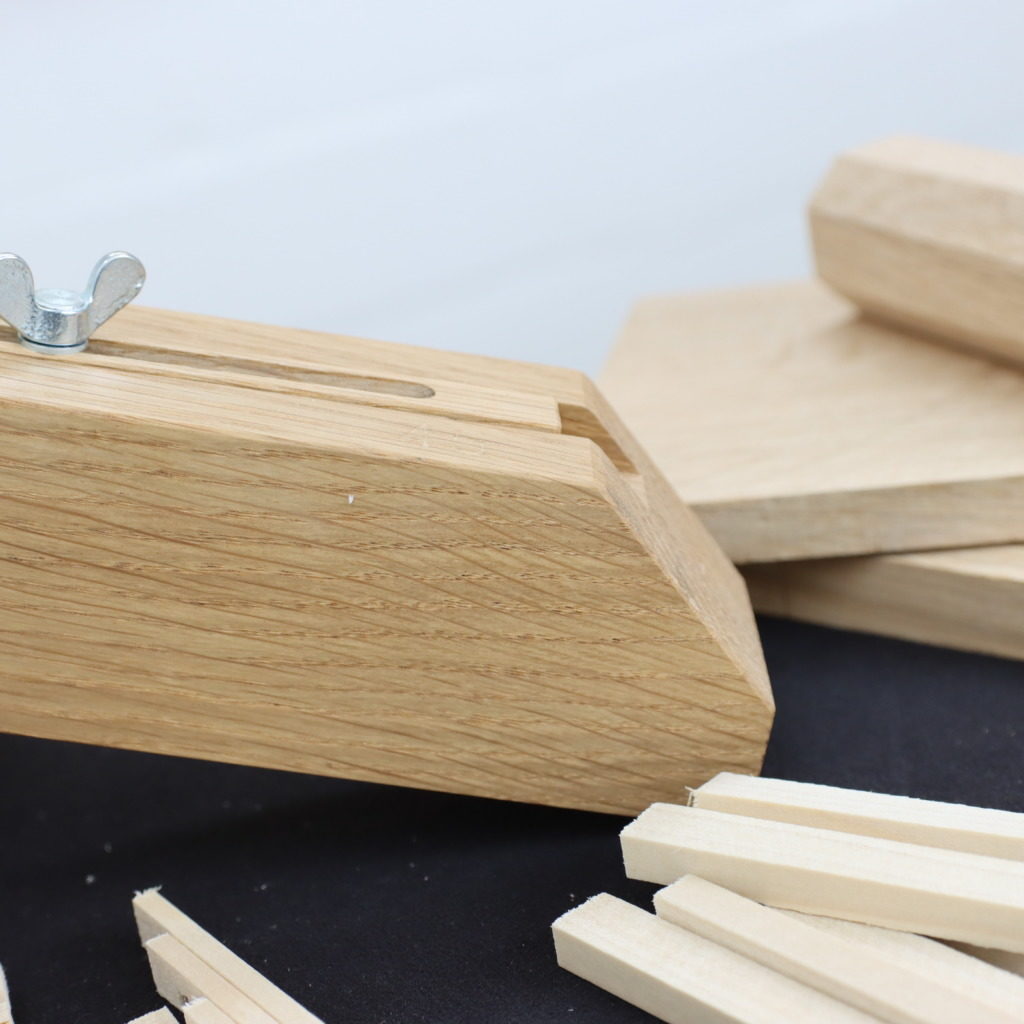
Now it was time for the Kumiko panel. For the frame, I used whitewood strips that are a little thicker than the Kumiko. With my Kumiko guide block, I trimmed off the ends at 45° degrees. This was so enjoyable. With a little trial and error, they fitted perfectly.


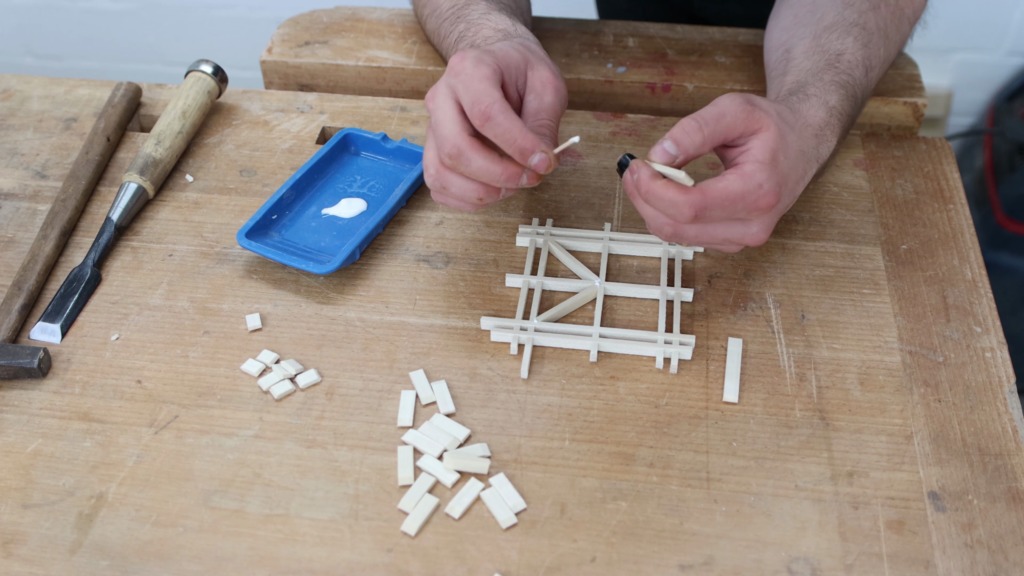


Making the Kumiko panel itself was the most fun part for me. Again I used the guide blocks to cut the infill pieces to shape. If you want to learn more about how to make Kumiko check out the videos I link at the top as well as the articles on my website.
Gluing the Kumiko pieces in place went smooth and afterwards I marked the panel in order to fit into the frame. I lined up a ruler to my marks and cut it with a pull saw.
Inserting the panel was very rewarding.
7. Hanging the holder to the wall
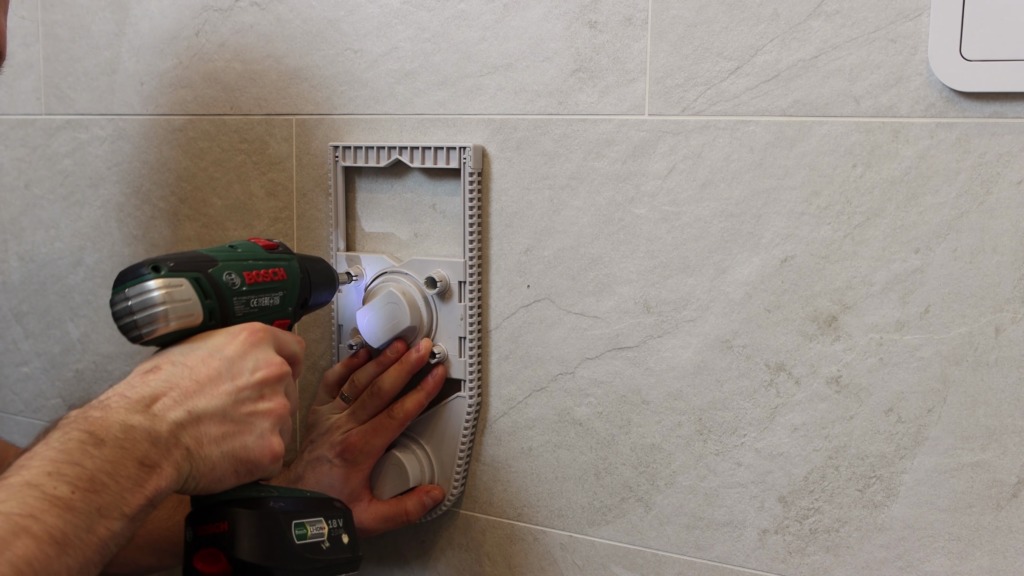
With a pencil, I marked the locations for the screws on the tiles in our bathroom. In order to drill through the tiles, I used a diamond drill bit and a drill template to start the hole. But since the suction cups of the template had problems to hold on the structured tiles, I continued without it. With a sponge and water, I cooled the bit and tiles. I felt lucky to not hit a water pipe.
I inserted some wall plugs and screwed the toilet paper holder in place.

Just adding some toilet paper, inserting the Kumiko panel again and it is done! Almost don’t forget to include the back-up roll behind the Kumiko.


Build your own with the building kit


If you want to build the toilet paper holder yourself, I have an awesome building kit available. It contains all the wooden parts for the holder already pre-cut, the brass dowels and the strips as well as the guide blocks for the Kumiko panel. Without a big and fancy woodworking shop and just a very basic toolset you can build this project yourself.