Lumber selection and rough cutting
For this build I was able to get a complete log of 52mm European Oak. Log number 43 to be precise. I was really excited about that since all the boards would be a perfect color match with each other in the final piece.

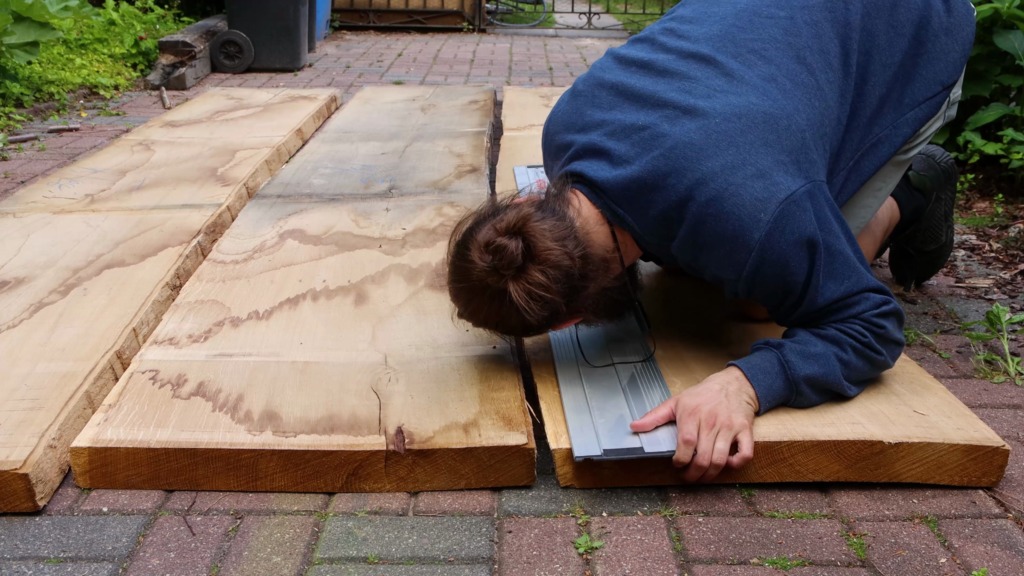
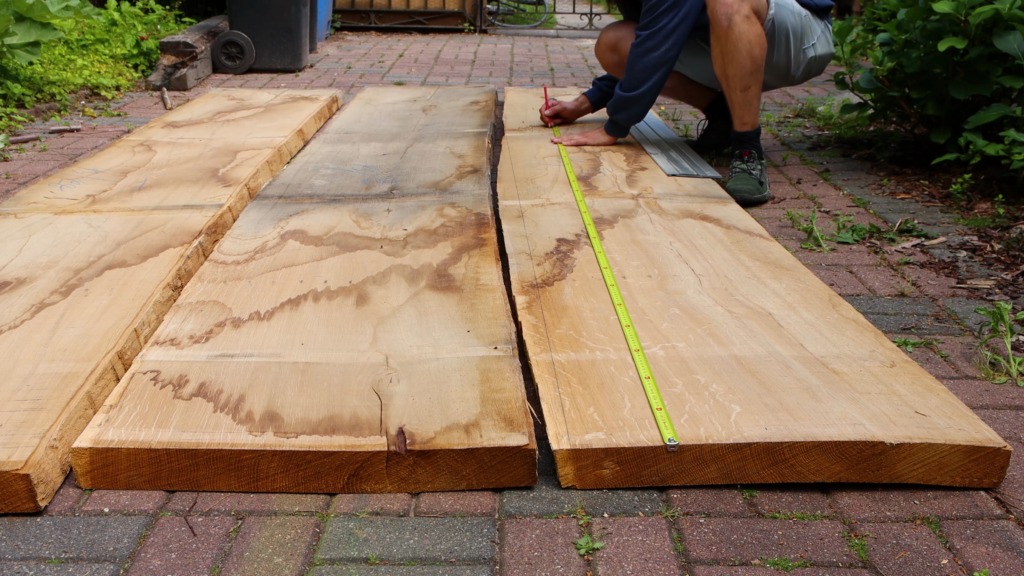
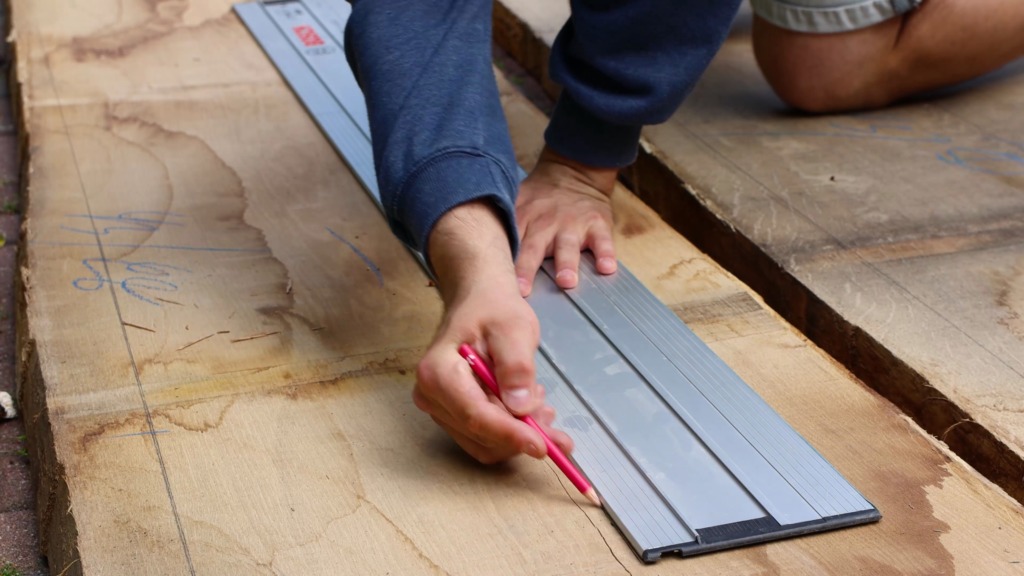
First I spread out all boards in my driveway and drew all the parts of the bed onto the slabs. I noticed a metal piece in two slabs and after extracting it, I saw it was a .50 caliber projectile. Most likely from WW2. Pretty cool that the tree might save someone from getting hit by a bullet.


Then I removed the live-edges, except from one side of each slab that will be on the headboard and cut all parts roughly to size.


Milling and cutting the lumber to size
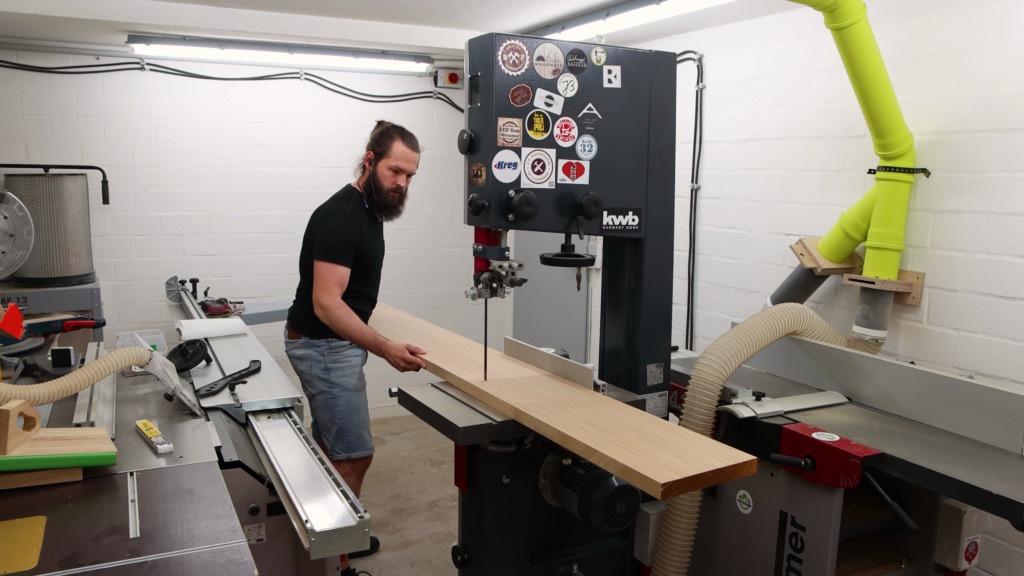
After getting all that lumber into my basement shop, it was time for a milling session. Since milling lumber of this size is pretty exhausting I lubricated the beds of my jointer. Which makes it a little bit easier.
I jointed one face of each board and then planed them to their final thickness.


If you want to build this bed yourself you can find a complete set of plans for it here. In there you have all the measurements and shapes for the parts as well as instructions on how to size the parts if you go for another mattress size.
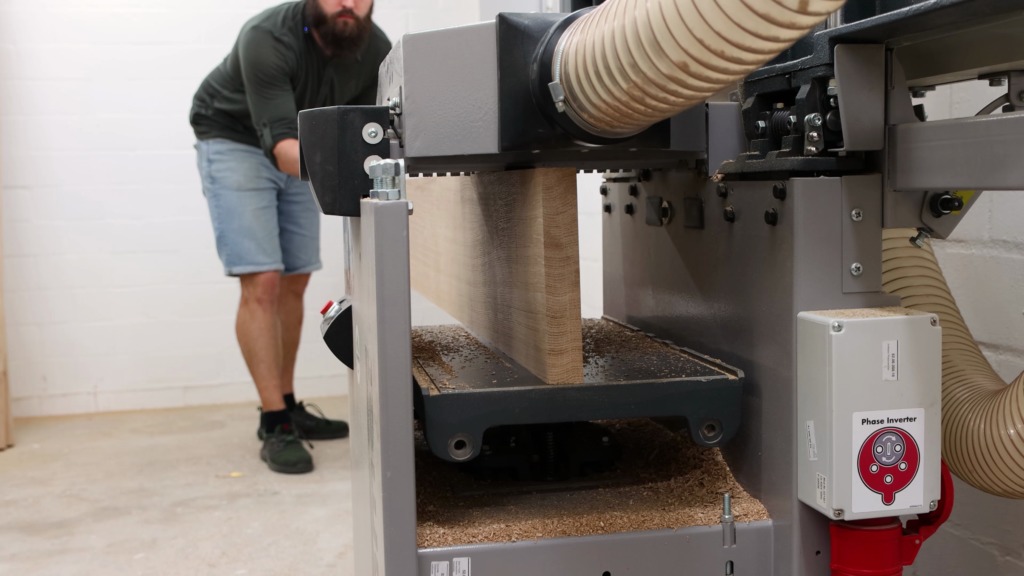
Edge jointing was next and went pretty smoothly. Since my shop is too small to rip boards like this on the table saw to their final width, I used a 2 step process. With the bandsaw, I cut the board a few millimeters wider than the final width and take care of the rest with the planer. That works nicely and doesn’t require moving the table saw around.
At the miter saw, I cut the pieces to their final length.

Making the super-sized dovetails for the bed-frame
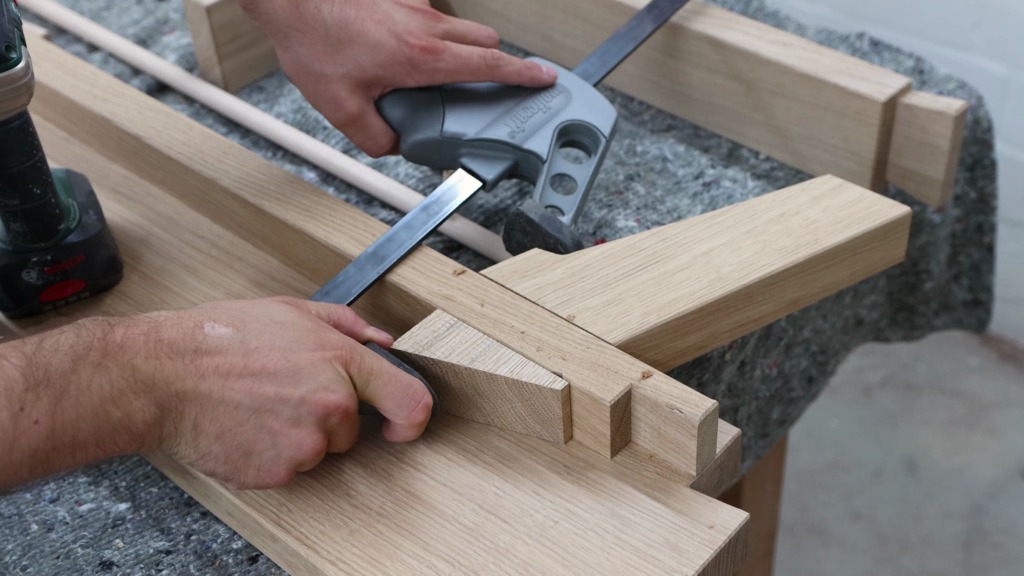
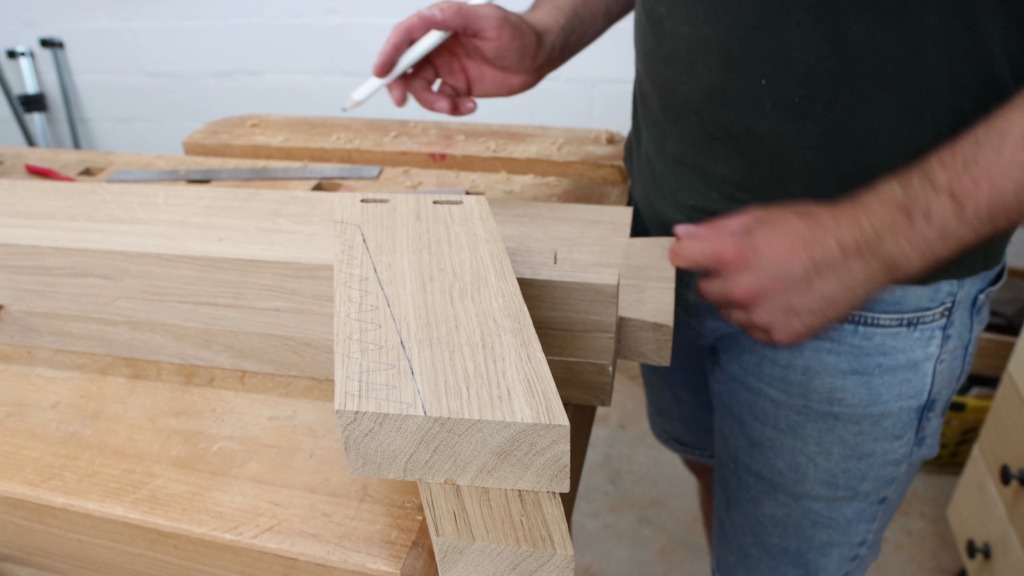
Now, this was my favorite part of the build: making the supersized dovetails for the frame pieces. I started by laying out the tails with a pencil, a dovetail marker and my marking gauge. The dovetail saw guide made it easy to saw the tails even though the body mechanics were a bit odd with the workpiece clamped at an angle because of its length. I finished the rest without the guide because the back of the saw interfered with the guide. That shot looks sooo wrong with me sawing towards my fingers…
I continued the process for the other boards as well.


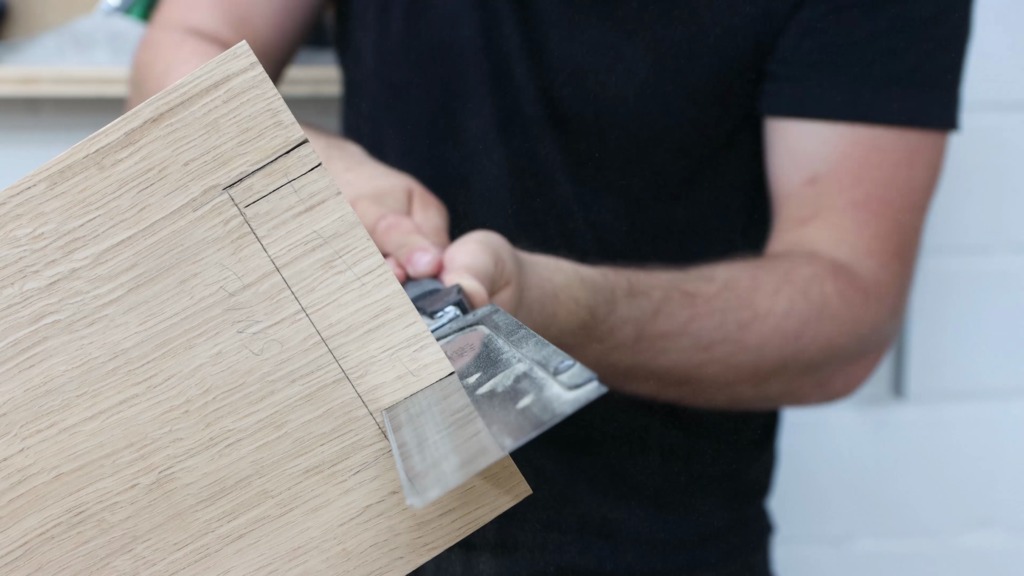


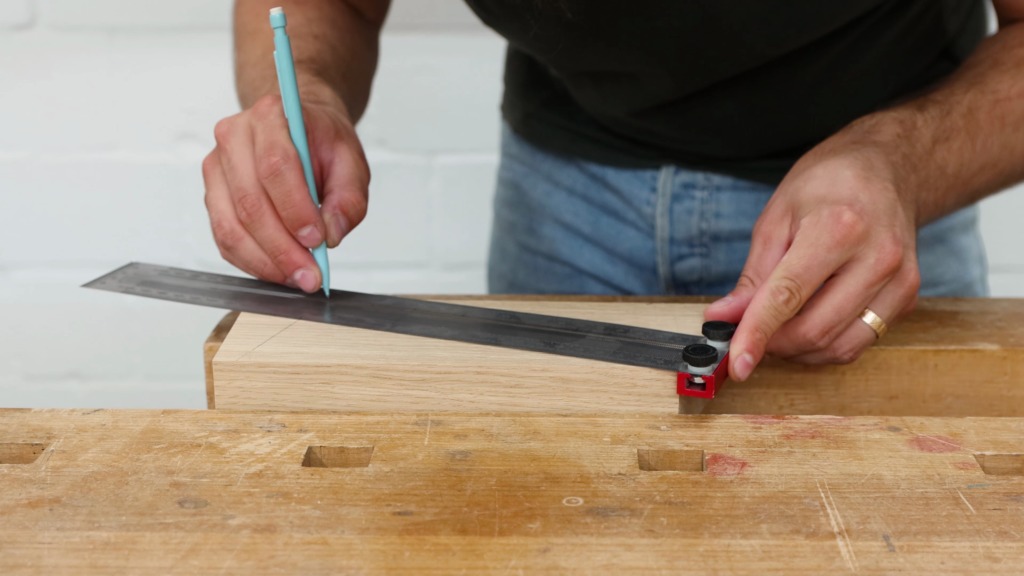
After arranging the parts like they should go together I was able to trace the shape of the tails onto the pin boards. I transferred the marks over to the face of the boards and marked my waste. I also marked the depth with the marking gauge and again labeled the waste with a few scribbles.

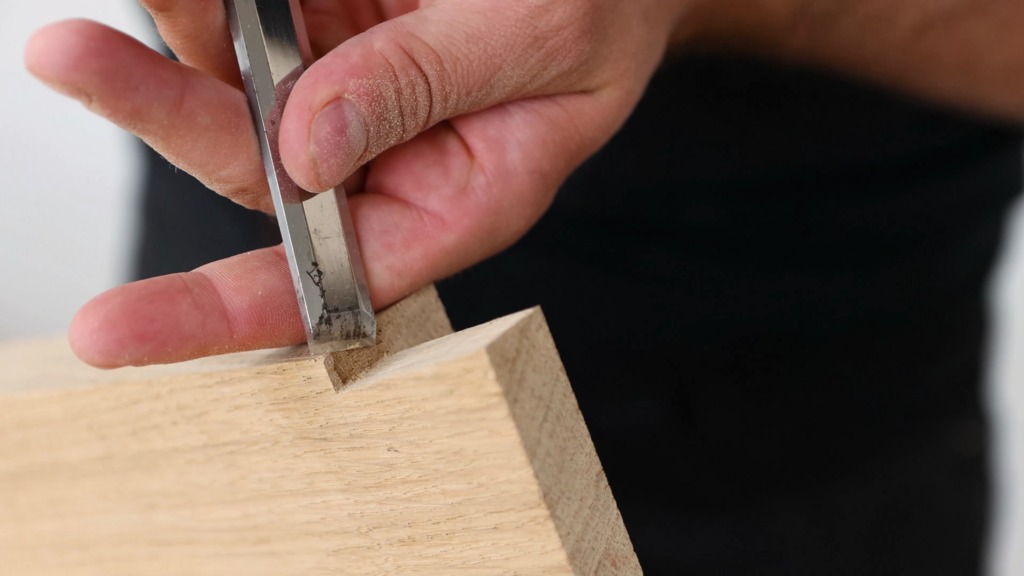
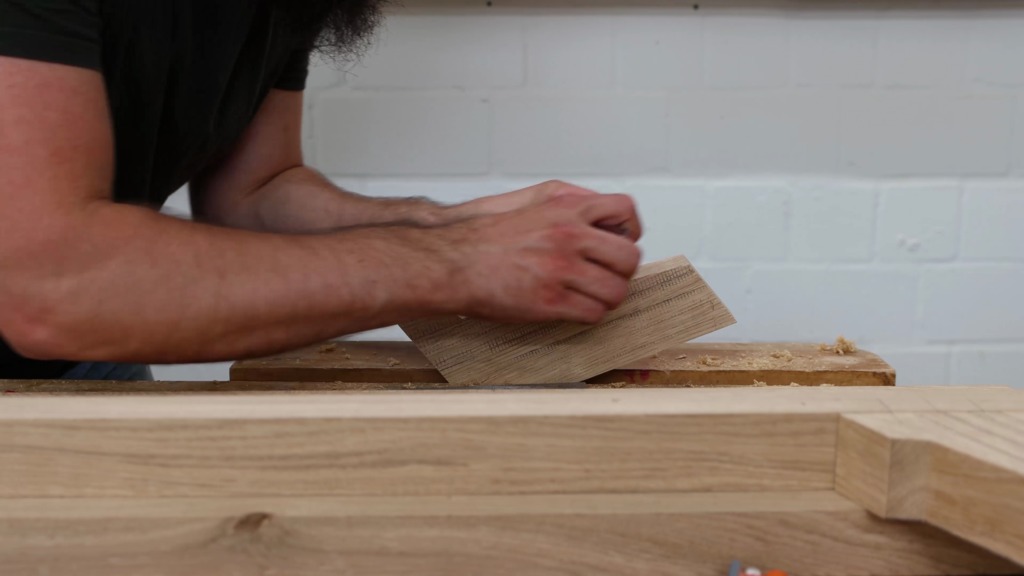
When sawing to the lines I made sure to saw away the complete line to ensure a good but not too tight fit. The fit I was aiming for was a bit looser than for a usual dovetail, because it should go together and apart without the need of a mallet. I also established a 90 degree cut right next to the initial cuts on the waste side. Then I drilled a hole that touches the saw kerf. This gave me a better place to start with the fret saw. I saw close the line but leaving a bit to clean up with a chisel later on. To guide the chisel I clamped a right angled piece of wood across the board and then chiseled to my line.
They all came together beautifully and I was already pumped about this project.
Slats to hold the slatted frame
To hold the slatted frame I used the slats in the picture. To make gluing them to the frame much easier I inserted a bunch of dominos. Don’t worry you do not need a domino to do this. Standard round dowels, biscuits or a spline can do just fine.


This is how the ends of the rests for the slatted frame meet at the corners. It is a standard halp-lap joint, I created at the table saw.


Fancy joinery for the slats
The pieces on which the slatted frame rests on have some cool joinery as well. There is one piece attached to each frame piece and two are running across. The one running in the center of the two mattresses gets two feet in order to not bend under weight. I decided to go with a kind of a bridle joint. I laid out the joint on the feet and set my table saw blade height to my material thickness. I used the jig I made to cut dovetails at the table saw. If you are interested in how to make dovetails at the tablesaw check out the video linked at the top right. I cleaned it up with a chisel and transferred the lines to the other board.


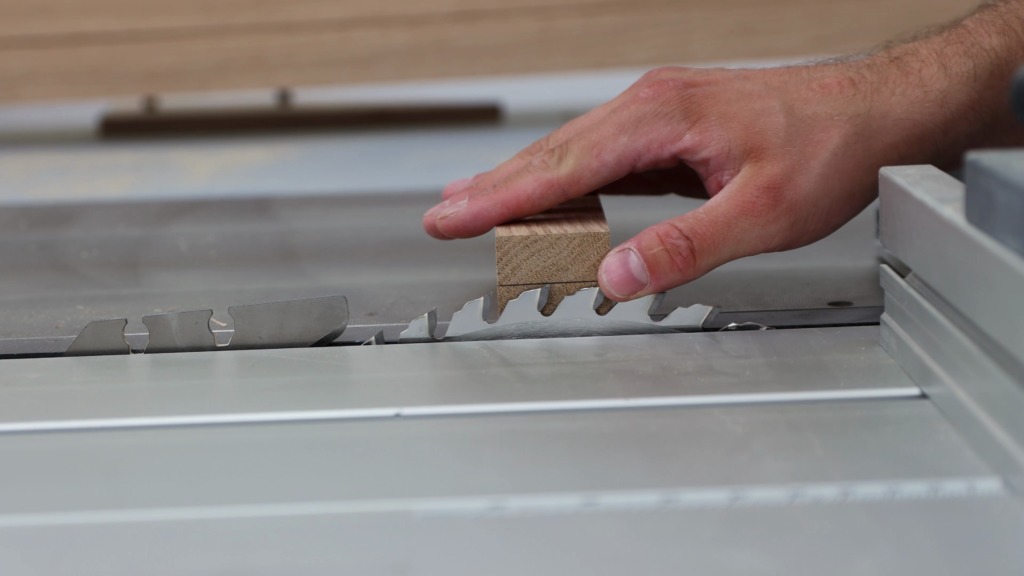
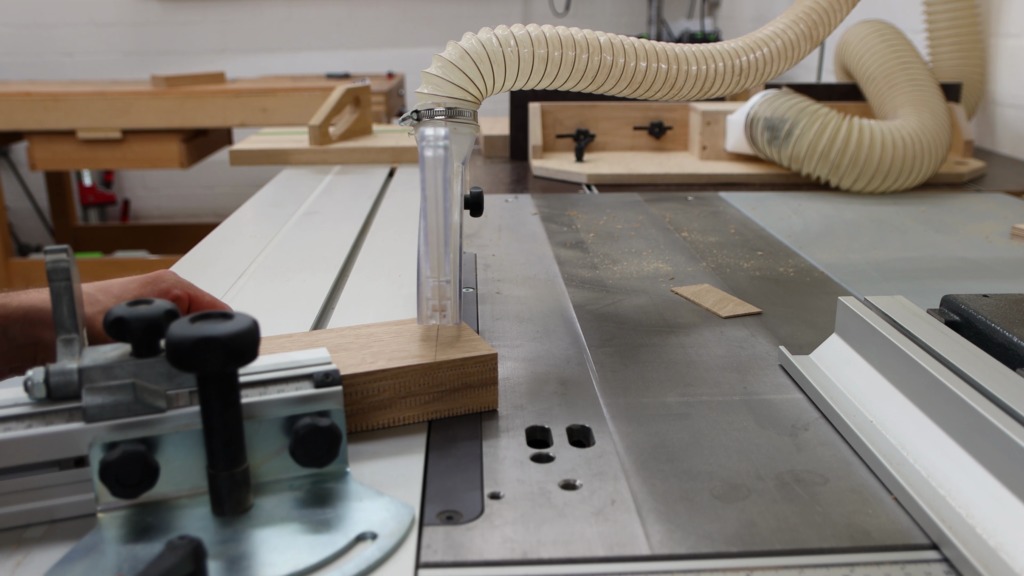
To get a nice fit straight off the saw I used a device called the Kerfmaker. The distance between the orange and grey piece is pre-set to the width of my table saw blade. By pinching my workpiece between the two grey stops and locking it, the Kerfmaker is ready to go. After setting the blade to my desired width and aligning my board for the first cut, I set the parallel fence in a way that the Kerfmaker fits right between the fence and the workpiece. Notice I used the orange stop.


After establishing the first cuts for both sides of the joints, I could flip the Kerfmaker around and use the gray stop to position my workpiece for the second series of cuts. Then it was just a matter of nibbling away the waste. A flat-top grind blade leaves me with no clean-up work. Perfect fit, just like that without any fiddling around.
But the interesting thing comes now. The cross pieces got half-lap dovetail joints that hold the frame together since the dovetails at the corners of the frame only provide mechanical restriction in one direction.
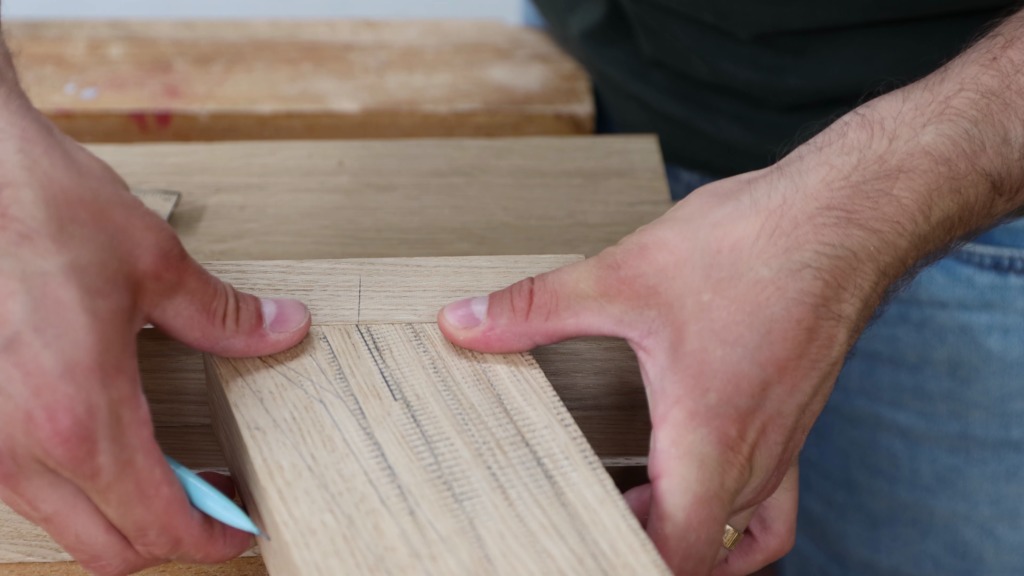
This time I did no layout and just cut the tails with the guide and the pull saw. Again I transferred the tails and marked my depth on the pin board. But is it really a pin board in this case? However, after establishing the the two outer saw kerfs I turned on the router and routed the waste away. I was too afraid to go all the way to the saw kerf and hence chiseled the remaining bit.
The fit was solid once again, I felt like I was on a roll!


The cross pieces intersect each other with another half-lap.

The front feet for the bed

The front feet may seem pretty daunting with all the angles but they are easy to make. I began with rectangular blocks of wood and turned to the table saw. After setting up my miter fence to 72° degrees, I made the first cut. Then I marked the length of the legs, lined it up at the table saw and made the second cut.


Plans for this bed
You want to build this bed yourself? Check out the plans I offer. They also include instructions on how to resize the parts for another matress size.
In order to have a little bit of help for the glue-up later on I wanted to have 2 dominos at each foot. I marked where the feet should go and made 2 tick marks for the dominos. Routing the dominos was easy and no surprise as they fitted perfectly on the first try.
To give the feet a more elegant look, I cut away a notch at the bandsaw and cleaned it up with a card scraper.

In order to give the feet more strength I inserted 2 dowels at an angle. To start the forstner bit at an angle I clamped the angled off-cut to my workpiece. I really made sure not to drill all the way through the feet. I inserted some wood glue, drove in the dowels and trimmed them off with a flush-cut saw. A quick sanding and the feet had a much more rigid connection to the bed.