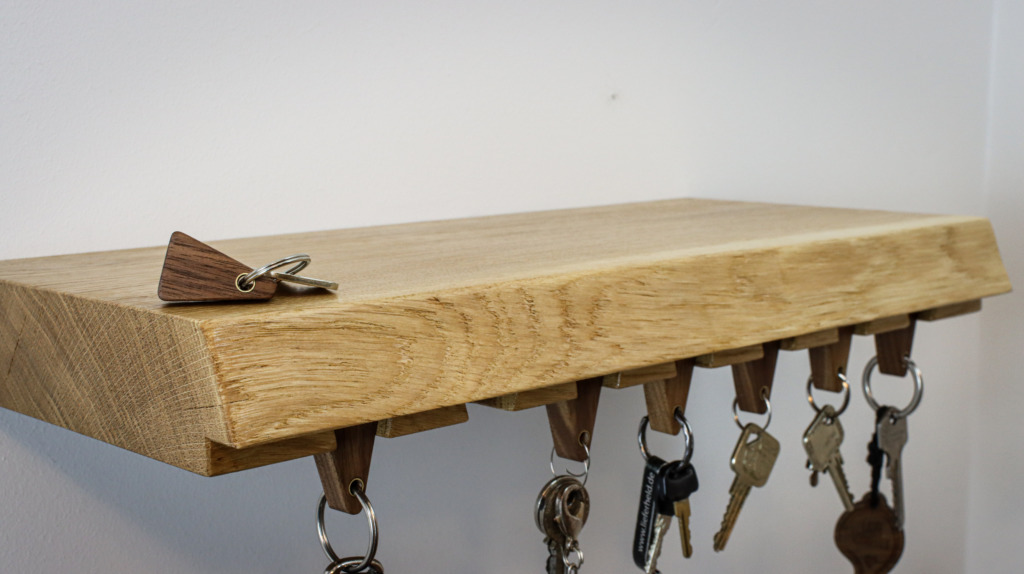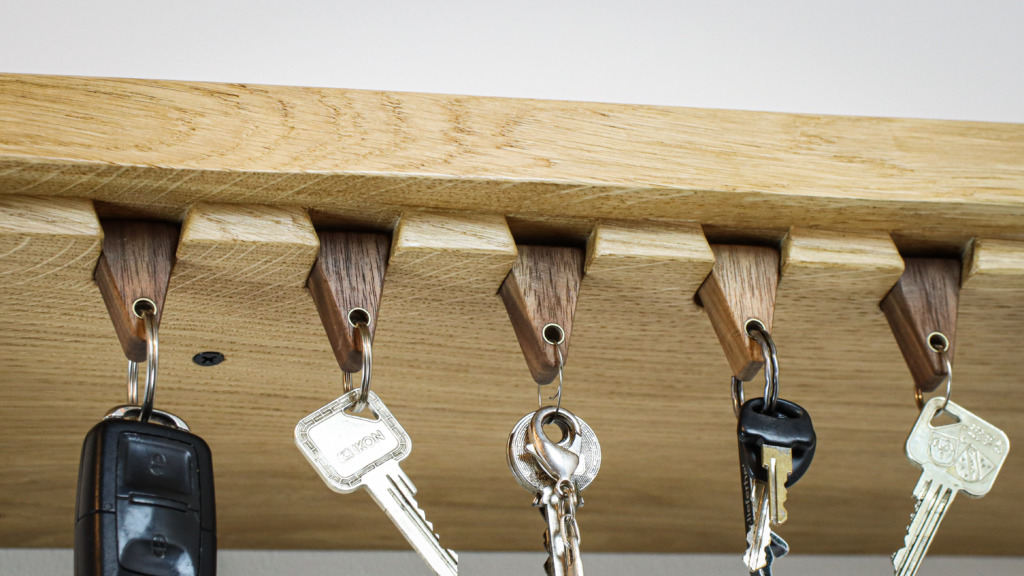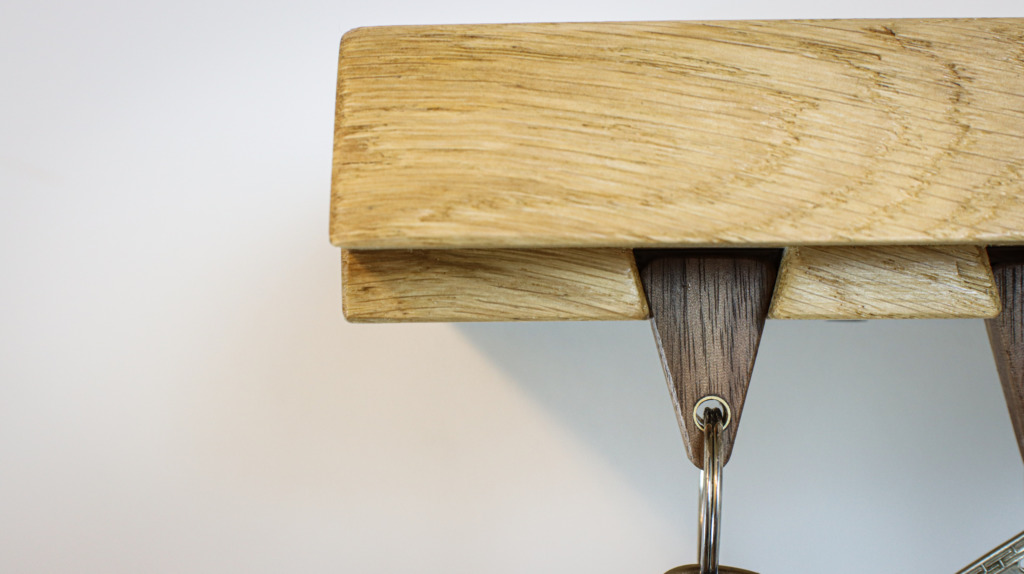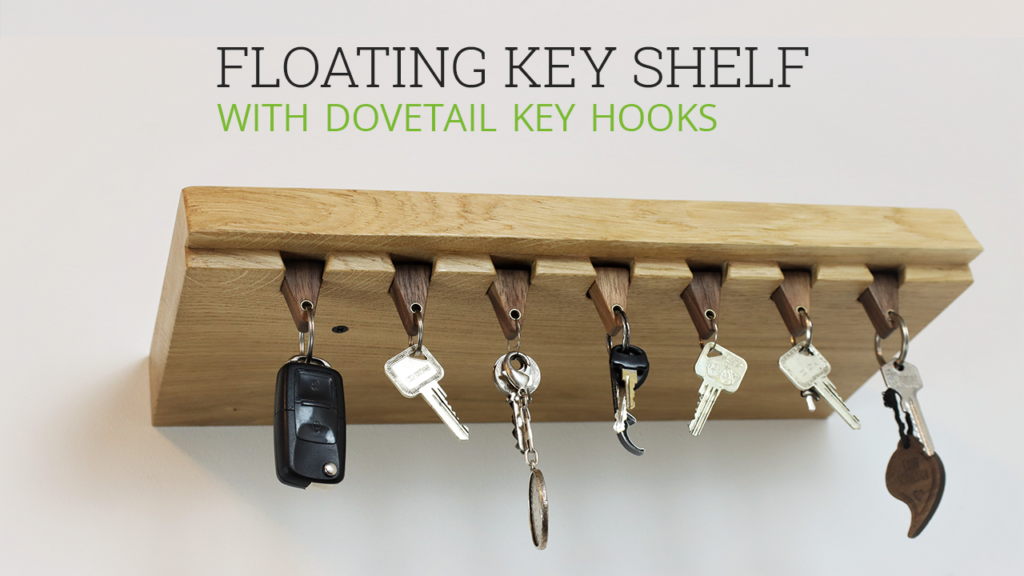
Since I am the kind of guy who throws his keys everywhere and has to search for them, what feels like an eternity, every time I leave the house. In order to counteract my annoying habit, I wanted to create a key shelf that is so much fun to put your keys there, that I will actually use it. Yet I had to be beautiful.
While looking for inspiration around the web I found a ton of keyholders with magnets. The magnets hold your keys in place and you can easily take them away. I wanted to have a unique way of holding the keys to the shelf and at the moment I thought about the shelf itself and asked my self if I want to use live-edge stock with bowtie inlays, it struck me. The shape of a bowtie respectively a dovetail will probably work fine.
Tools I used
- 14mm (9/16″) auger bit
- Drill
- Belt/Disc sander
- Drill press
- 6mm (1/4″) drill bit
- Block plane
- Countersink bit
- 25mm (1″) Japanese Chisel
- Router
- 12mm (1/2″) straight bit
- Dovetail router bit
- Panel Saw
- Bandsaw
- Jointer/Planer Combo
Materials/Supplies
- 52mm (8/4″) live-edge oak board
- 30mm (1 1/8″) walnut
- 2 Floating shelf brackets incl. hardware for installation
- Epoxy
- 6mm (1/4″) brass pipe
- shellac (but feels free to use any other finish you like)
Get your own key shelf now
Since quite a few people were asking for it, I do sell the finished key shelf on my site now.
Milling and cutting up the live-edge shelf board
For the shelf board itself, I used 52mm (8/4″) live-edge oak and for the keychains Walnut. After ripping the oak board to width, I turned to the jointer and milled it up. I left the live-edge on one site.

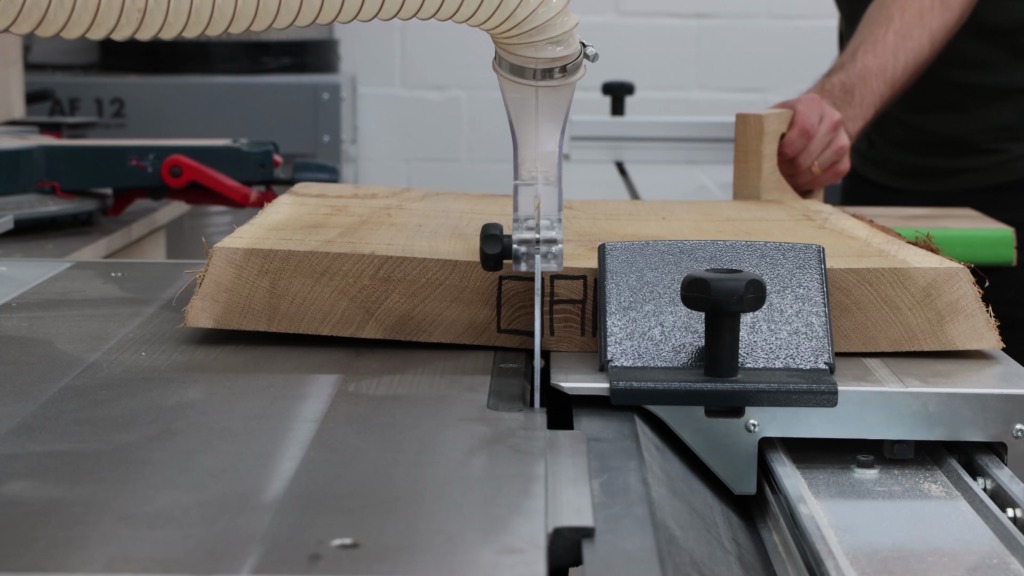
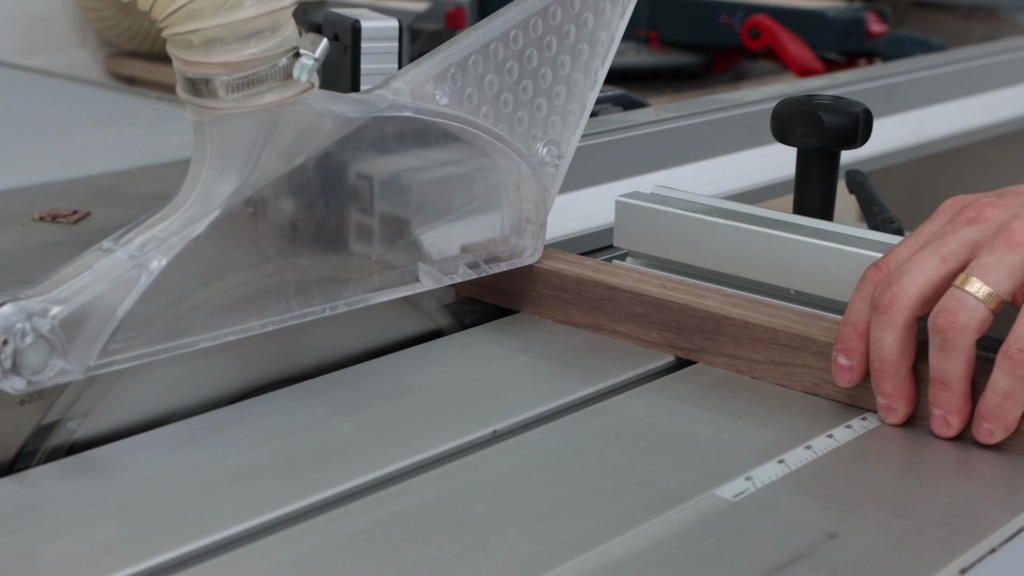
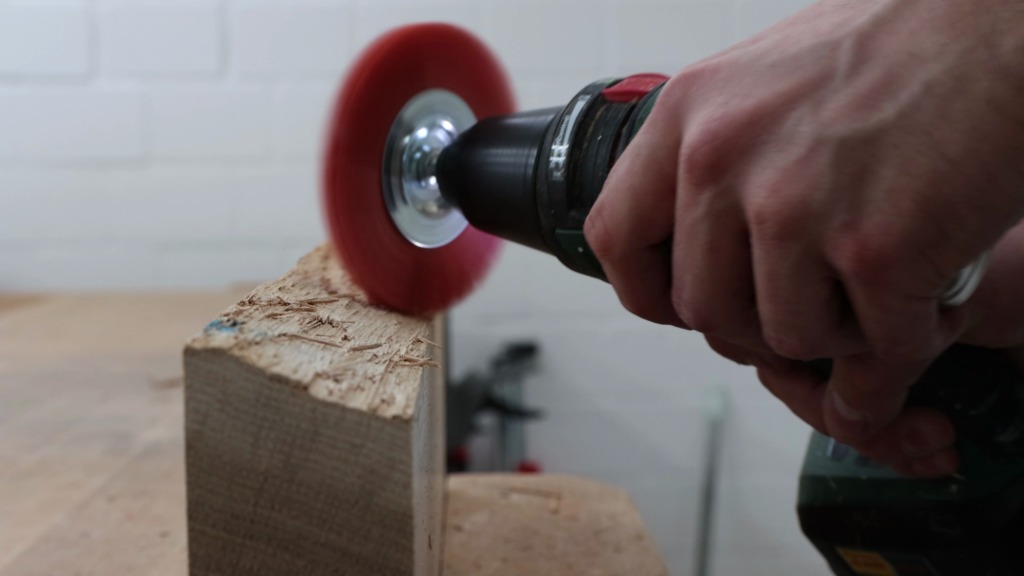
At the panel saw I cut the board to its final length. In order to get the live-edge smooth and free of splinters, I started with a nylon brush attached to my drill. This works pretty well to get rid of rough splinters and thin layers of bark. Afterward, I give the edge a quick sanding with my random orbital sander with 120 and 220 grid.
Routing the dovetail key hooks
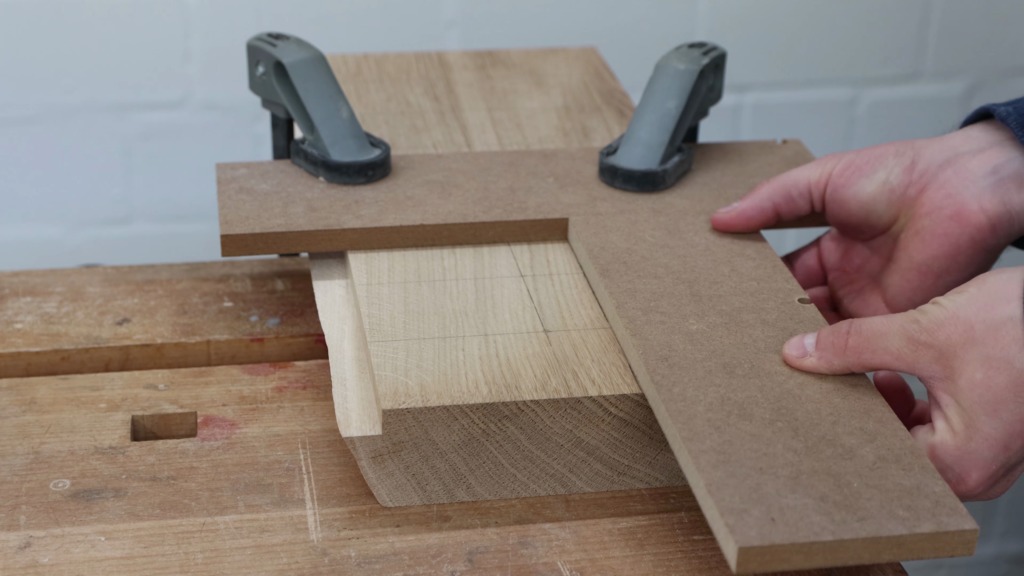
Time to make the key hooks. With my biggest straight bit, I routed a rabbet on the front edge of the bottom of the shelf. Therefore I used an MDF offcut as a guide. The rabbet places the key hooks a little further back and creates a nice shadow line.
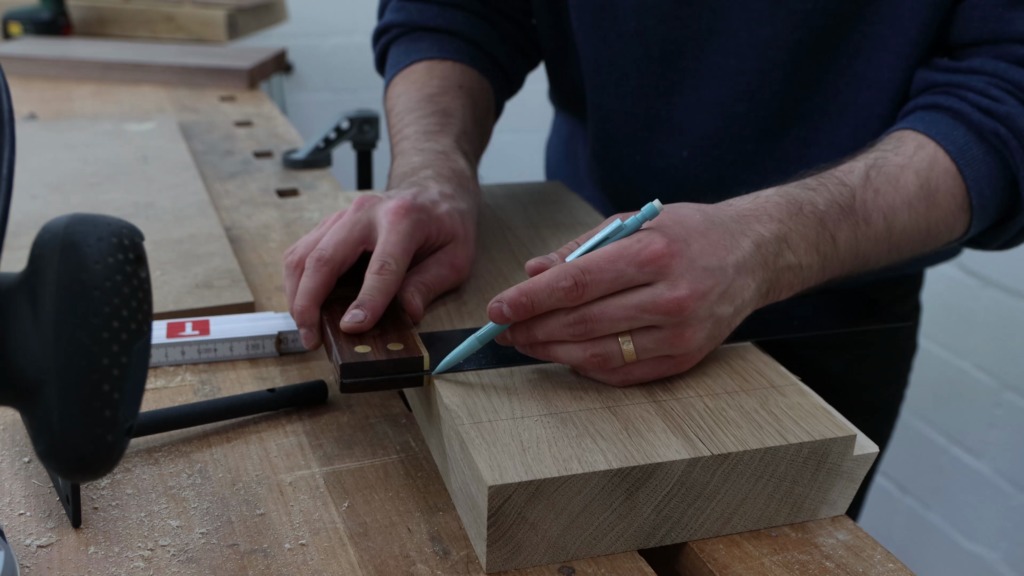
Then I marked the locations for the 7 hooks. The MDF spacer I line up to my mark is the exact distance from the edge of the base plate of my router to the center of the bit + 3mm. With the spacer in place, I can now clamp down the guide. Another guide acts as a stop.
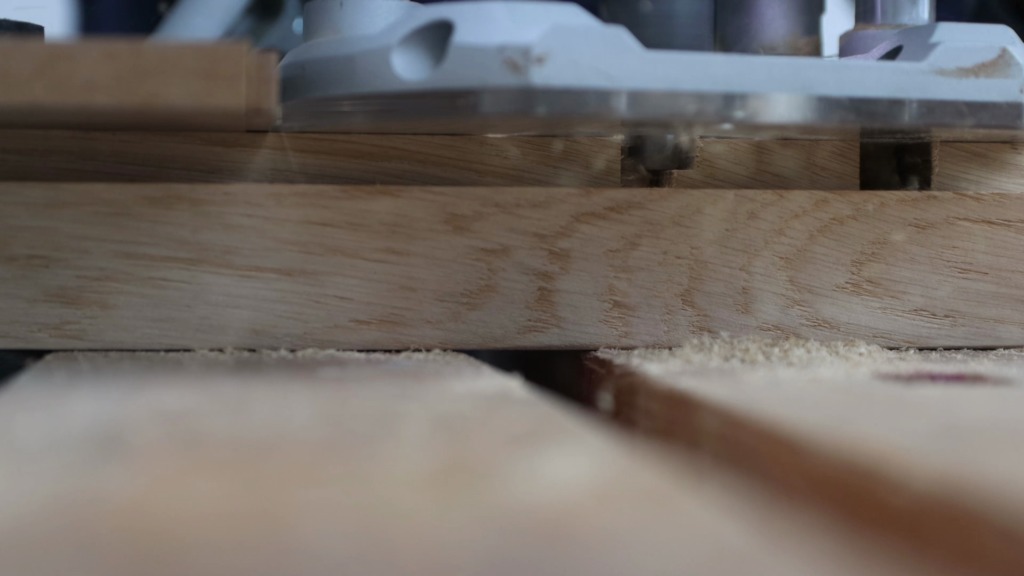
With my 12mm straight bit, I established the first cut to clear out most of the waste, where the dovetail groove will go. In order to widen the cut I inserted a 6mm spacer and get a cut that is 18mm wide after the second cut and because of the 3mm offset of the spacer, my cut is perfectly center to my line.
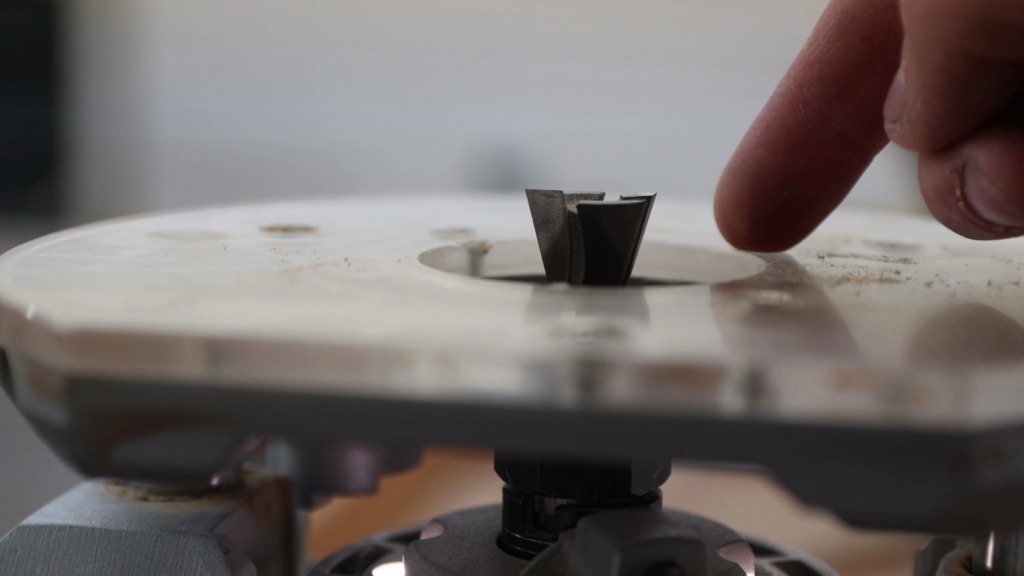
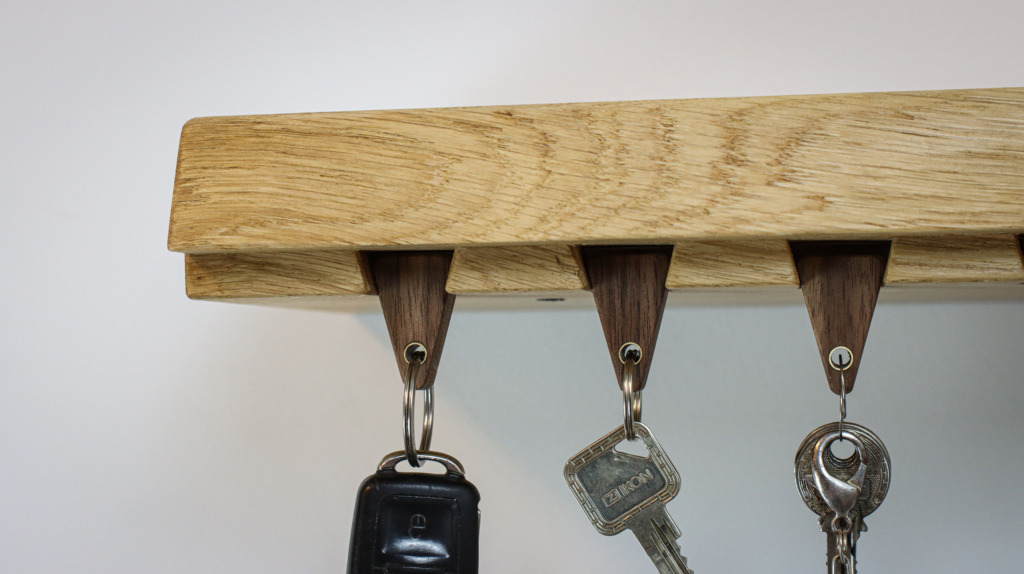
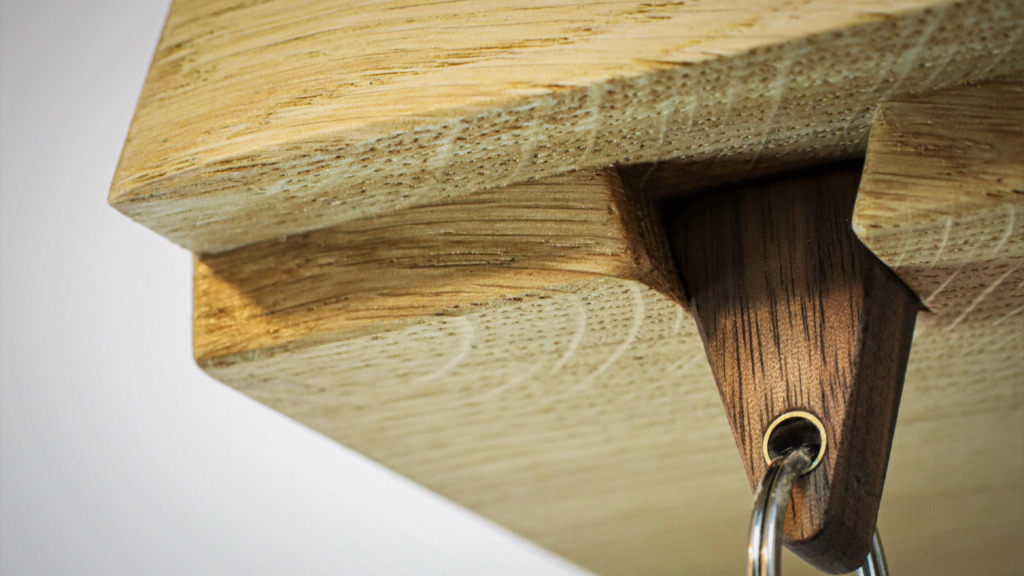
Then I switched my router bit to a 15° dovetail bit. I repeated the same process as I did with the straight bit and got the dovetail grooves that act as the key hooks.
Crafting the Walnut keychains with brass inlays for the eyelet
For the matching keychains, I decided to take Walnut as contrast and make it even fancier with some brass inlays. After removing the live-edge and jointing the first face side, I joined the first edge and planed it to 30mm thickness.
Next, I ripped it to 25mm strips and crosscut them to 35mm length. Consequently, I had a bunch of cuboids.

Lifting the sander onto my router table is not my favorite game. However, I set the miter gauge of my sander to 75° and sand the cuboids to a triangular shape like a dovetail, which fits the slots on the board.
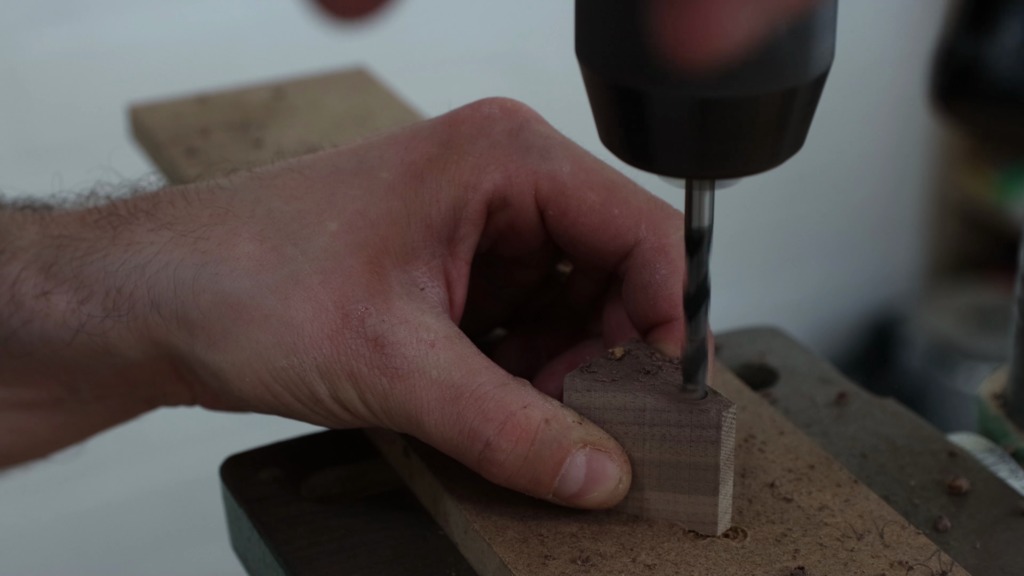
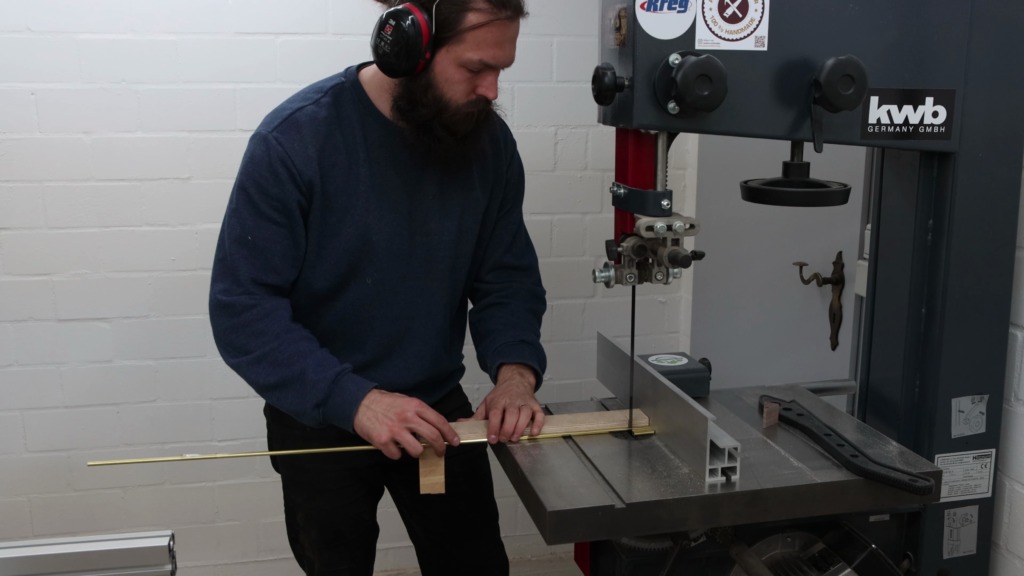
At the drill press, I created a 6mm hole in the tip of the triangle. In order to inlay the 6mm brass pipe into this hole, I set the fence of my bandsaw a little wider than the keychains and cut the pipe to pieces.
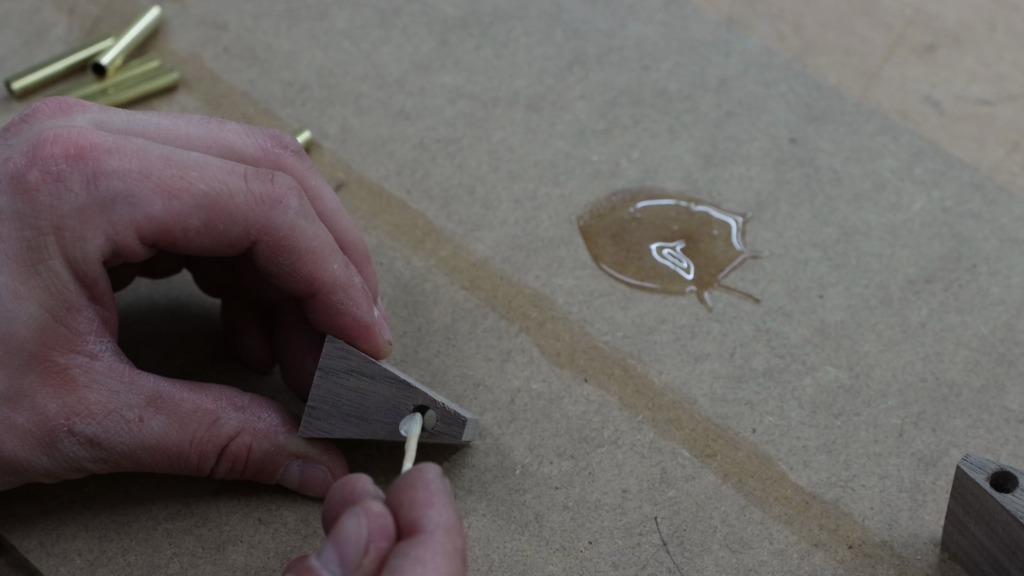
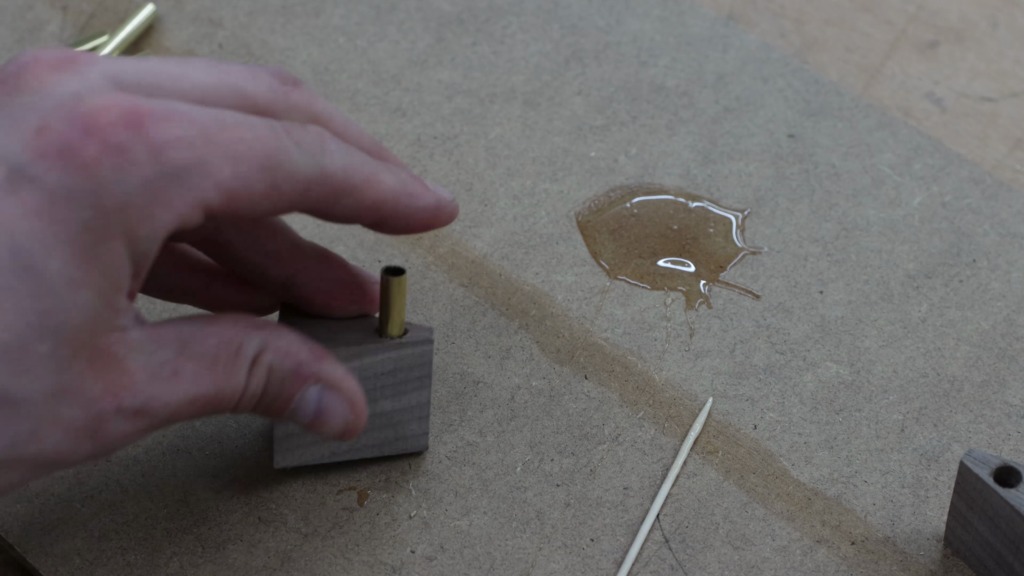
After that, I mixed up some epoxy. With a toothpick, I applied the epoxy to the inside of the holes in the keychains and inserted the brass pipes. I cleaned out the epoxy that gathered in the inside of the pipes and let it dry.


Since the tubes were a little oversized on purpose I sanded them flush and at that point, I was really in love with this project. Then I resawed every Walnut triangle into 2 pieces 12.5mm thick each.

A bit more sanding and rounding over the edges gave the keychains their final shape. As a finish, I rubbed on several coats of blonde shellac.

Creating the mounts on the board for the floating shelf brackets
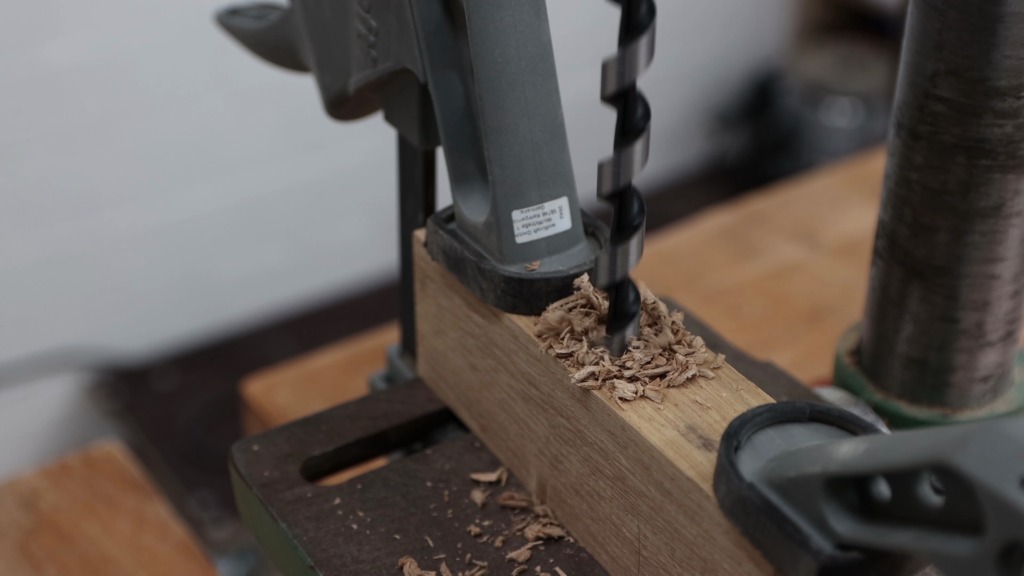
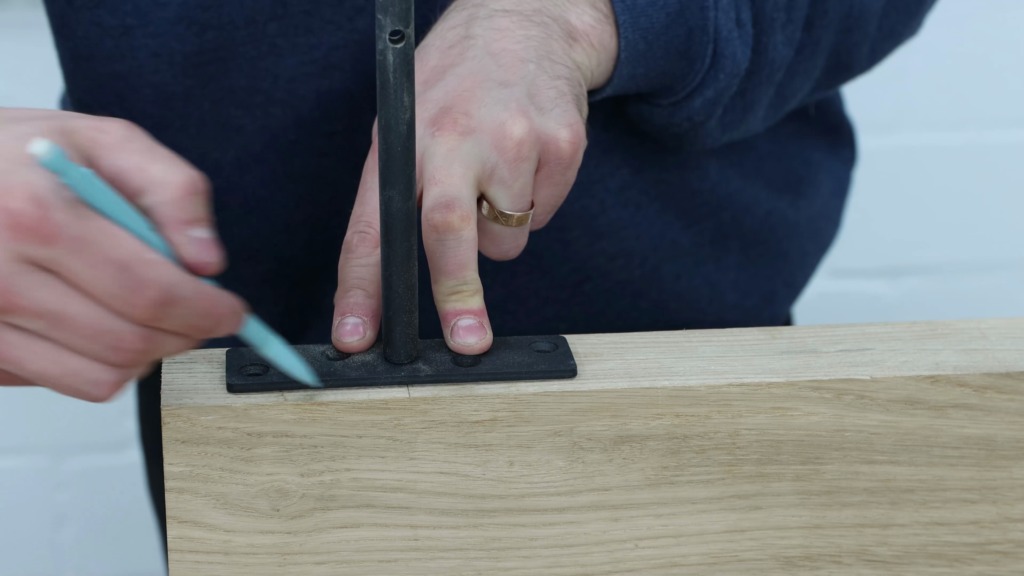
To give the board it’s floating look I used floating shelf brackets that are hidden in the board itself. I marked where they should go and transferred it over to the edge that faces the wall. For the holes for the thorns of the bracket, I pulled out a 13mm Auger bit. Since free-hand drilling the holes never ends up square, I made a guide block at the drill press and failed! The rpm was way too high and the bit got pulled into the wood, the handle slipped out of my hand and the drill press stopped completely. After changing the belt for the lowest speed I could drill the hole just fine.

I aligned the guide block to my mark and started the cut with the drill. As the bit became to short to continue I removed it and drilled the last bit without it.
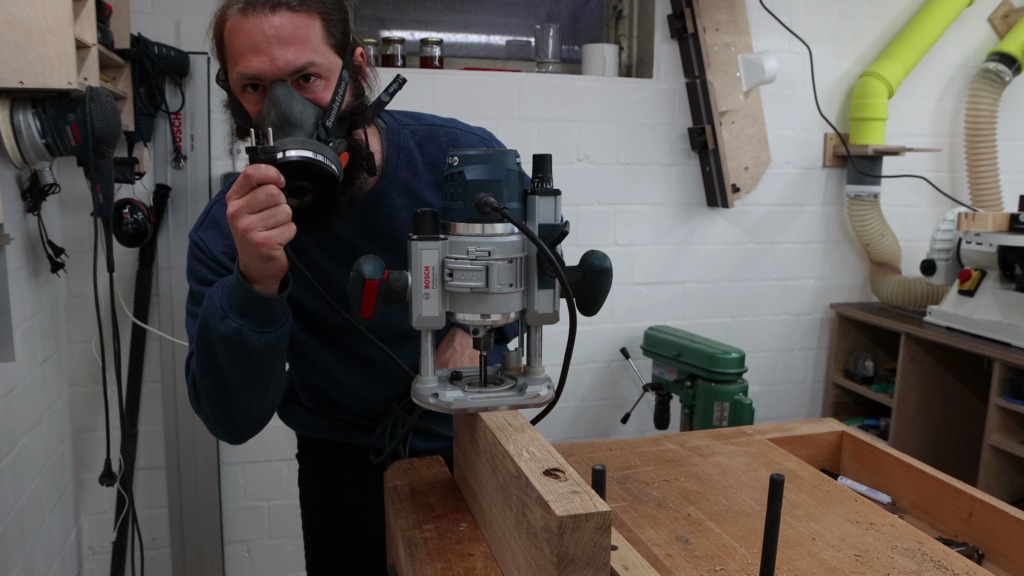
Then I traced the shape of the base plate and marked my waste. With a straight bit set a hair proud of the thickness of the base plate, I locked the depth stop of the router into place.
When I wanted to start the router nothing happened. Because I am an idiot and forgot to plug in the router…
Once plugged in I removed the material in several passes. Since it will be hidden I went a bit over the lines to make sure it fits.
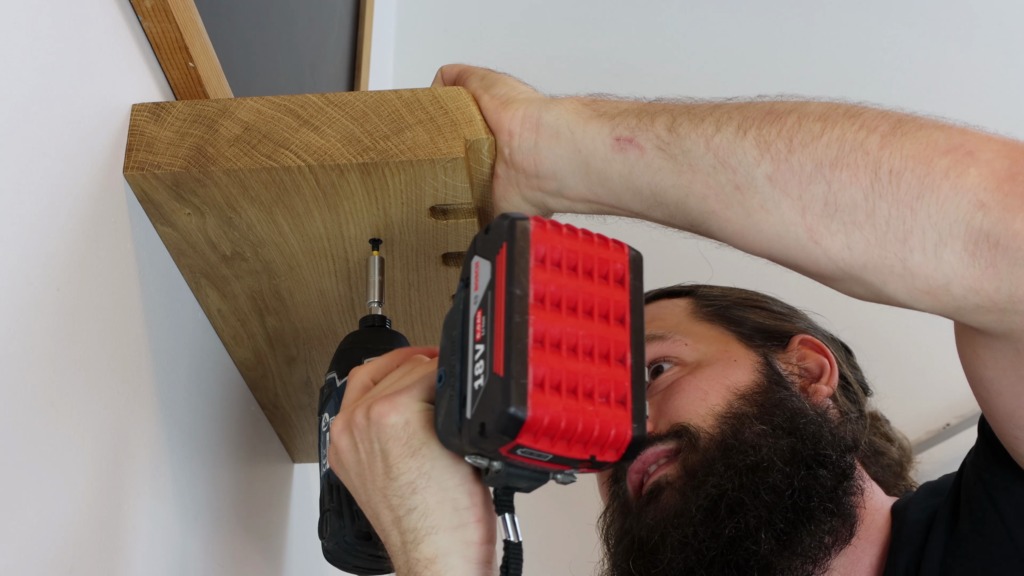
A little screw into a hole of the thorn makes sure the board is secured to the brackets. I used my combination square to transfer the hole location to the underside of the board before I drilled and countersunk the hole.

Surface prep and finishing the live-edge shelf
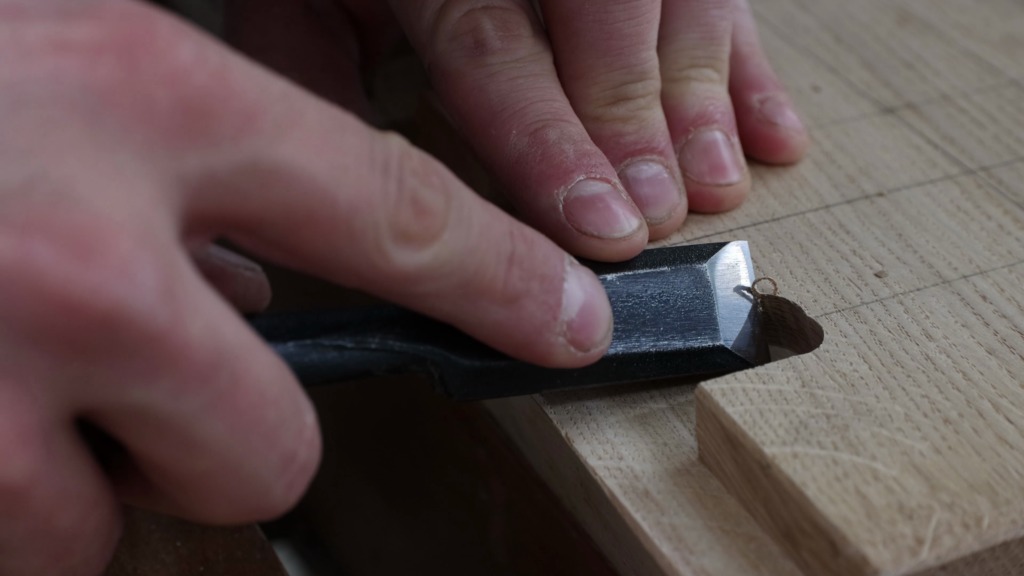
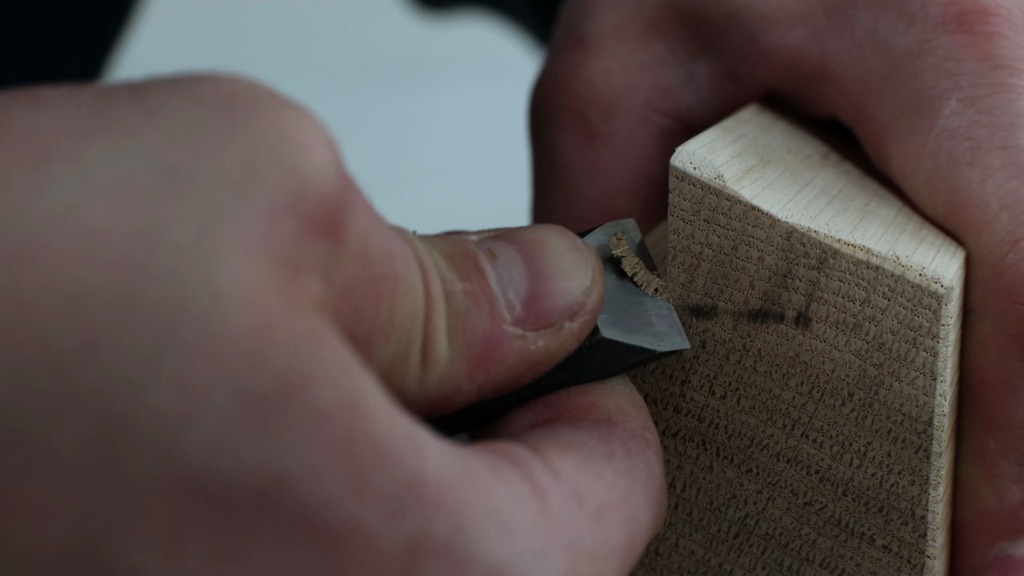
All edges except for the two facing the wall received a little round over with the block plane or a chisel before I sanded everything with 120 and 220 grid.
Again I used shellac for the finish. I applied it with a simple piece of cloth and gave it a 500 grid sanding in between coats.
Installing the floating shelf to the wall
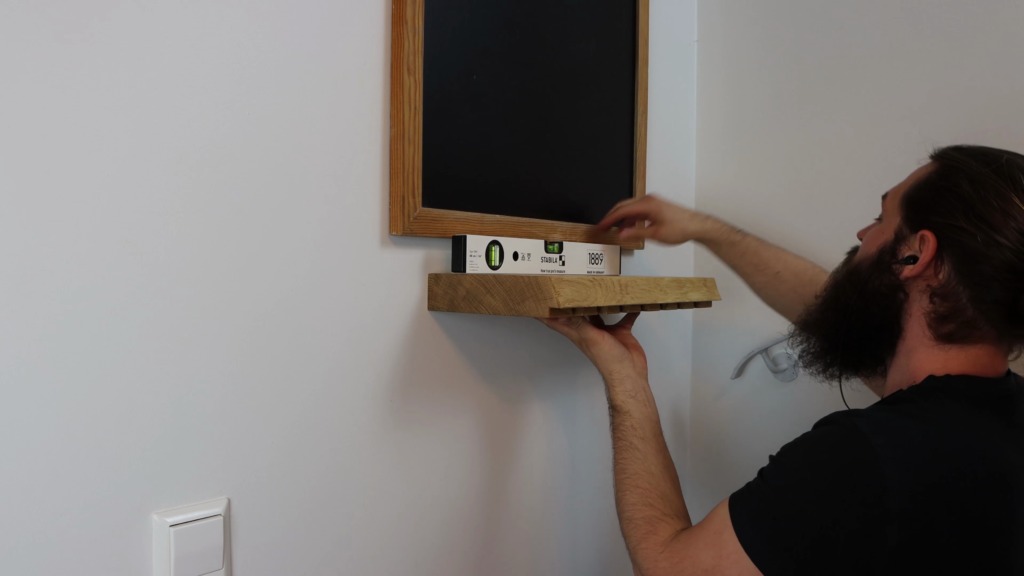
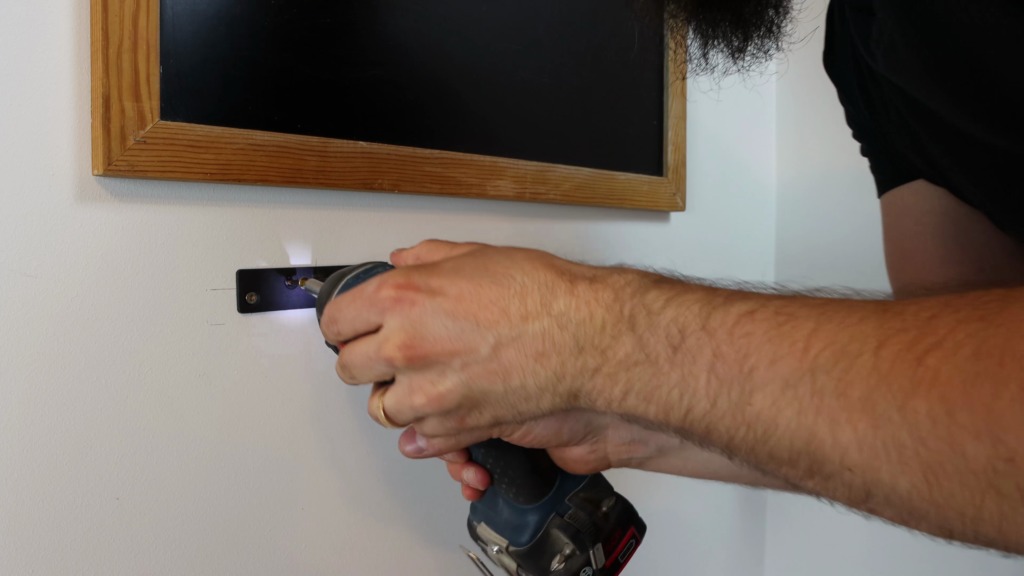
Finally, it was time to hang it to the wall. Before marking my corners I made sure it is level. Then I measured to the center of the thickness of the board on each corner and connected the two points. I laid out where the center of the first bracket will be and transferred the distance between the two. After extending these marks, I could place the brackets on the wall and mark where the screws will go.
I drilled the holes, inserted some wall plugs and screwed the floating brackets into place. Sliding the board onto the brackets, when everything fitted perfectly was extremely rewarding. With the two little screws underneath I secured the board from slipping off the brackets. The very last step was to attach the keychains to my keys and finally hanging them to the board.
Never looking for my keys again and being reminded of the craft

And here it is. I really like the result and it makes me unbelievably happy to put my keys back onto the shelf. I find pleasure in the fact that I have a dovetail keychain with me when I leave the house, which reminds me of the beautiful craft of woodworking.
Get your own key shelf now
Since quite a few people were asking for it, I do sell the finished key shelf on my site now.

